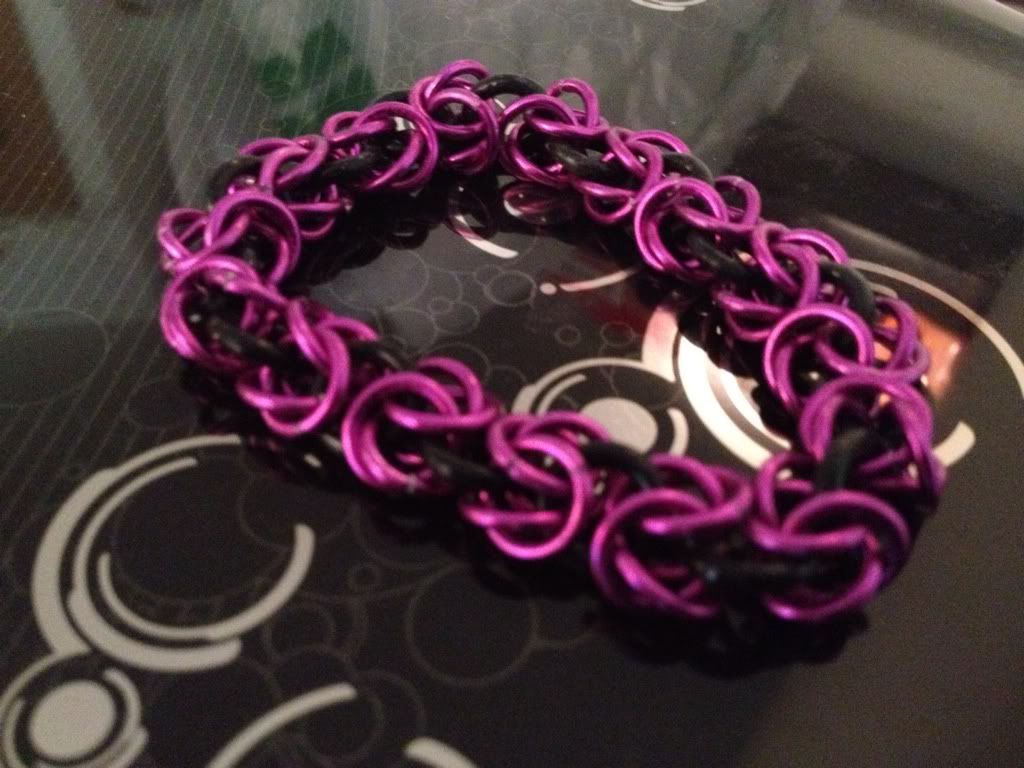
Whoever came up with these stretchy jump rings is a genius. I almost want to say I love them, but they haven't taken me out to dinner yet.
I really don't like clasps, especially since I have fat wrists for a girl. One size fits all means my wrist needs to suck it in to get the clasp to work. And heaven forbid it's one of those lobster clasps and you're trying to do it one handed. I have a few spinny clasps on some bracelets but lets face it, one handed you're hopeless. So our husbands and our friends are forever loved as our "Hey, can you put this on for me" go to person.
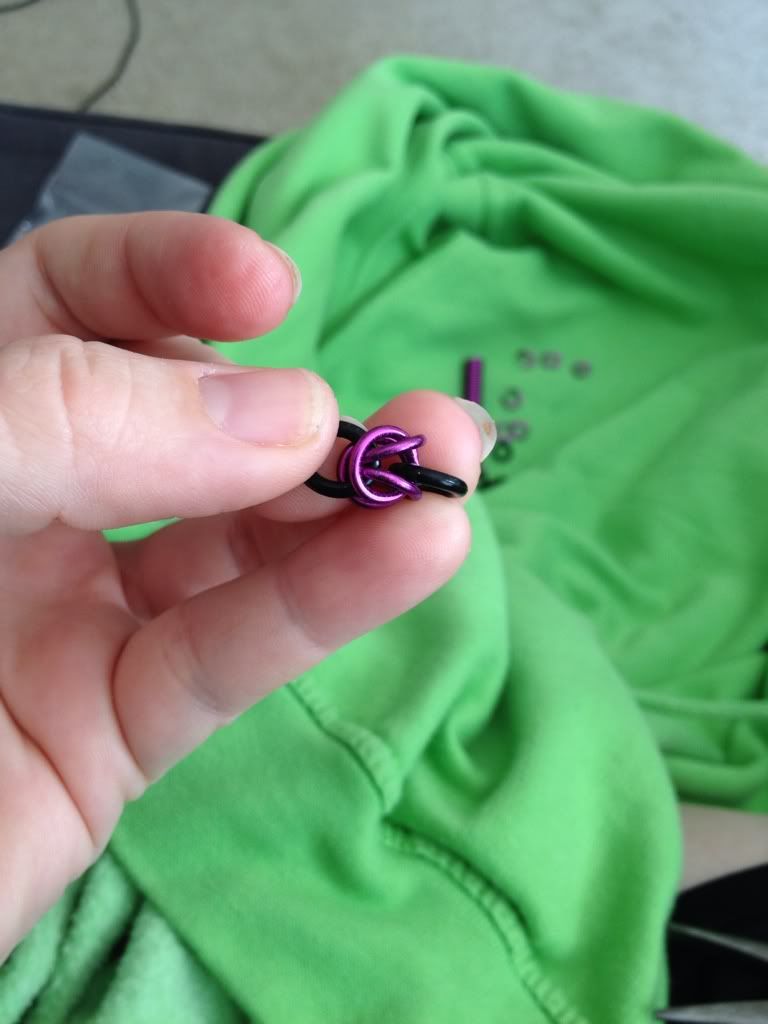
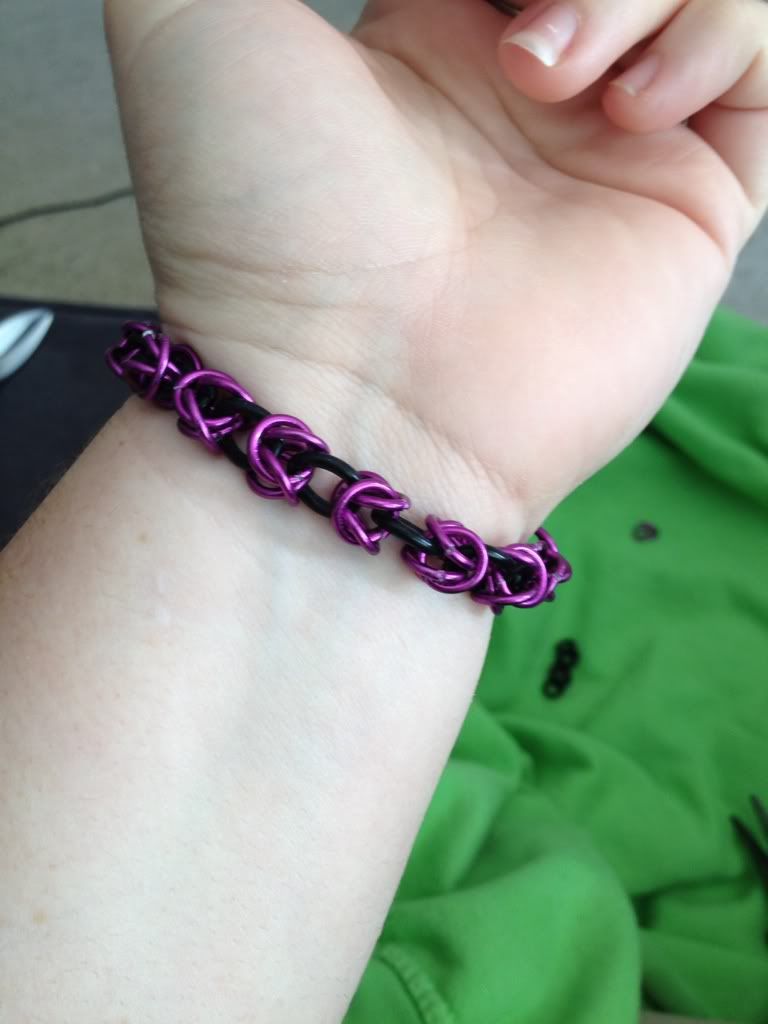
Moving on. Here is how you join byzantine with stretchy to make purple "roses" on a black "vine". How is this different than a regular byzantine bracelet? Because the stretchy rings don't open.
Coil and cut your jump rings. I did mine on the blue dowel rod so they should be about 10mm.
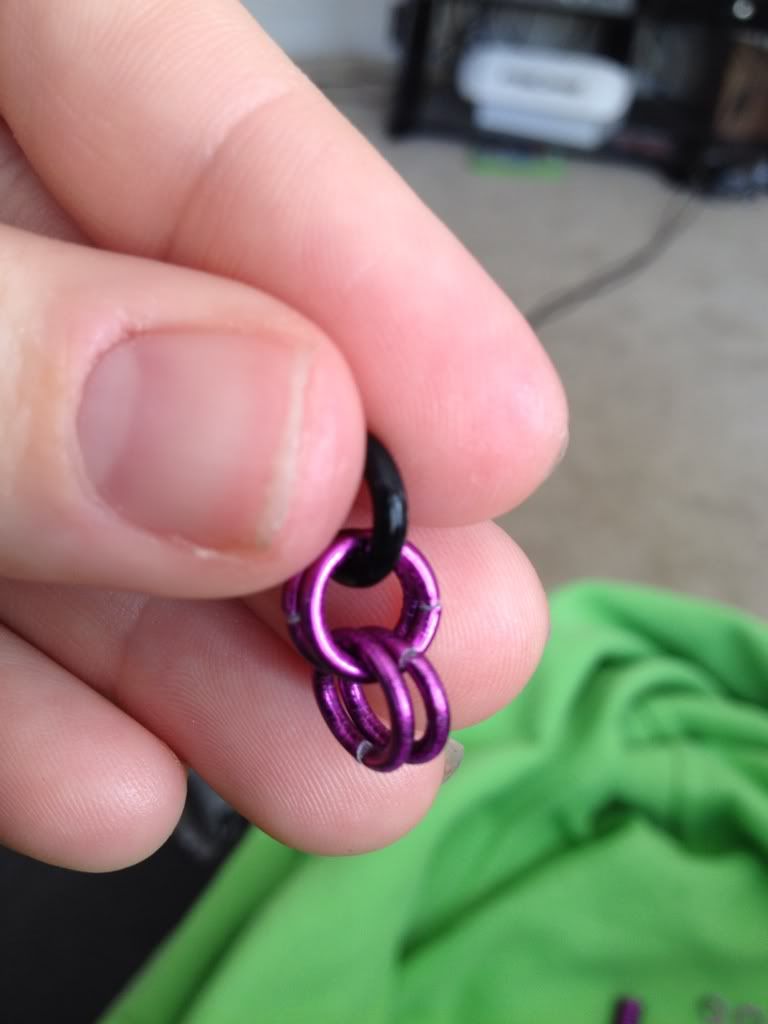
Take one of the stretchy jump rings. I have the Darice 10mm ones in black. (Step 1)
Put two purple (exchange purple for whatever choice color you choose) jumprings through the black ring. (Step 2)
Put two purple jumprings through the other two jump rings, but not through the black. (Step 3)
Separate the top two jump rings and lay them on opposite sides of the black ring. (Step 4)
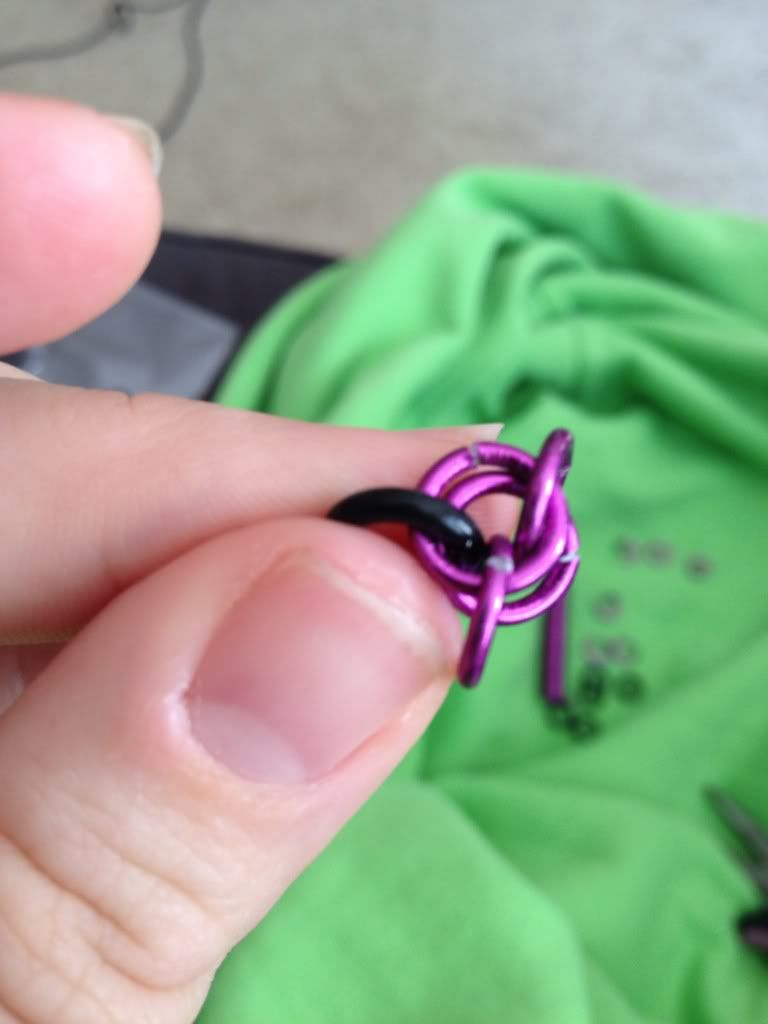
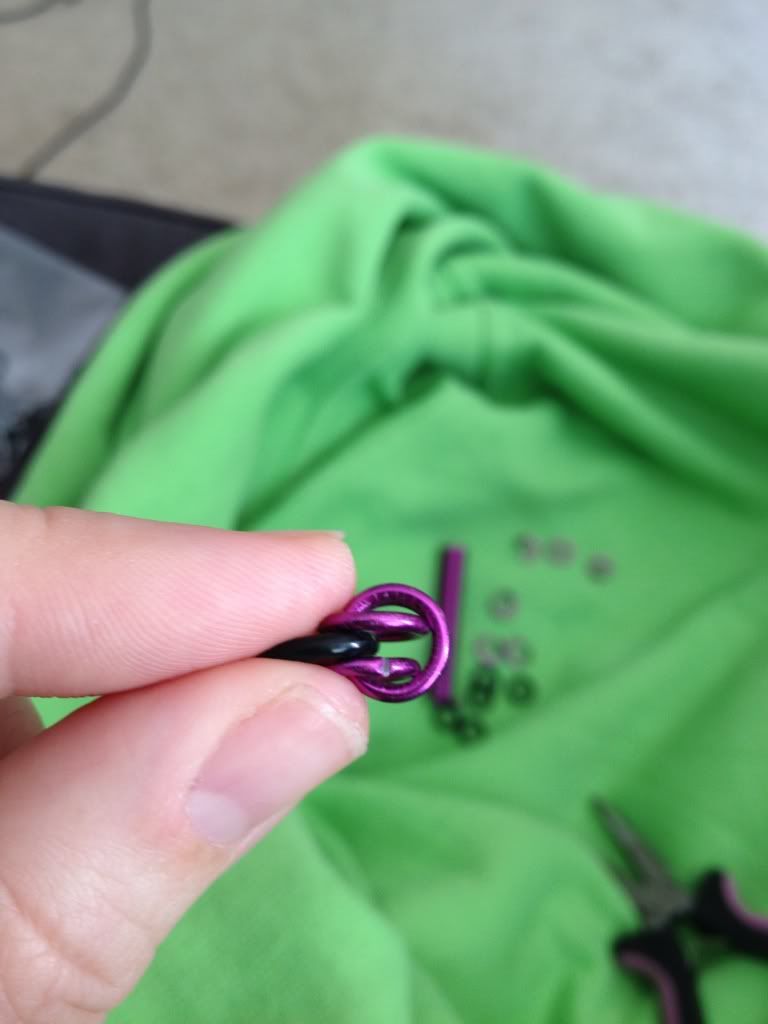
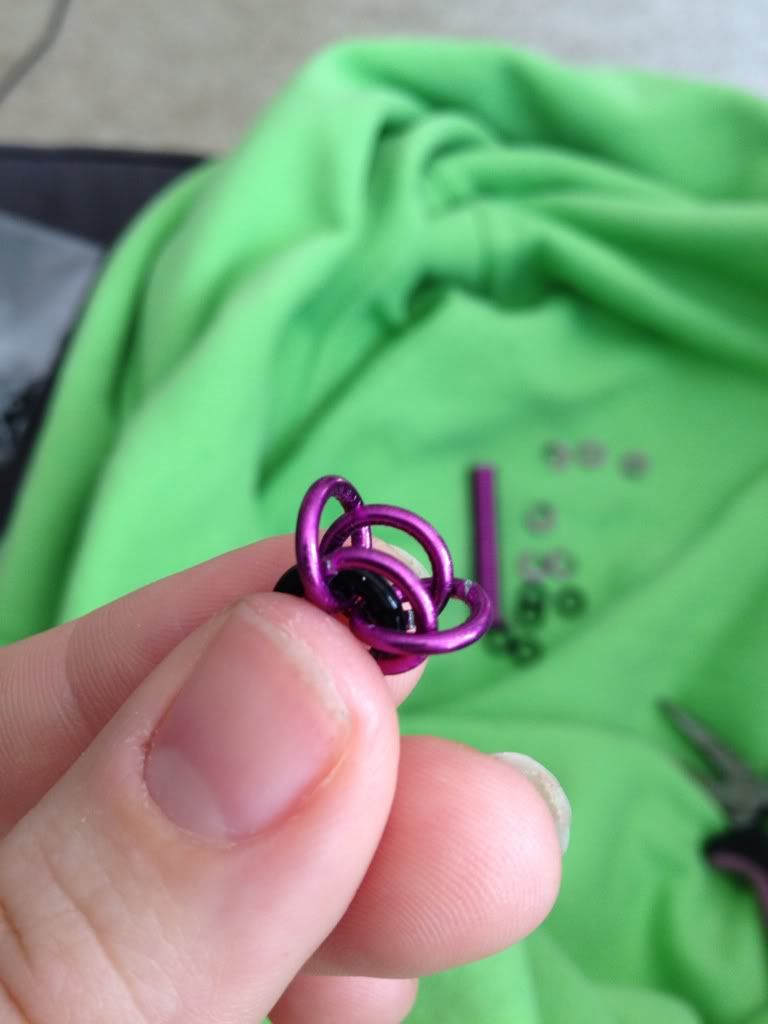 Now separate the other two purple jump rings so that the first two that are side by side with the black ring are now top again. (Step 5)
Open those two jump rings and insert a new black ring in them so that they are looped through it, then reclose the jump rings. (Step 6)
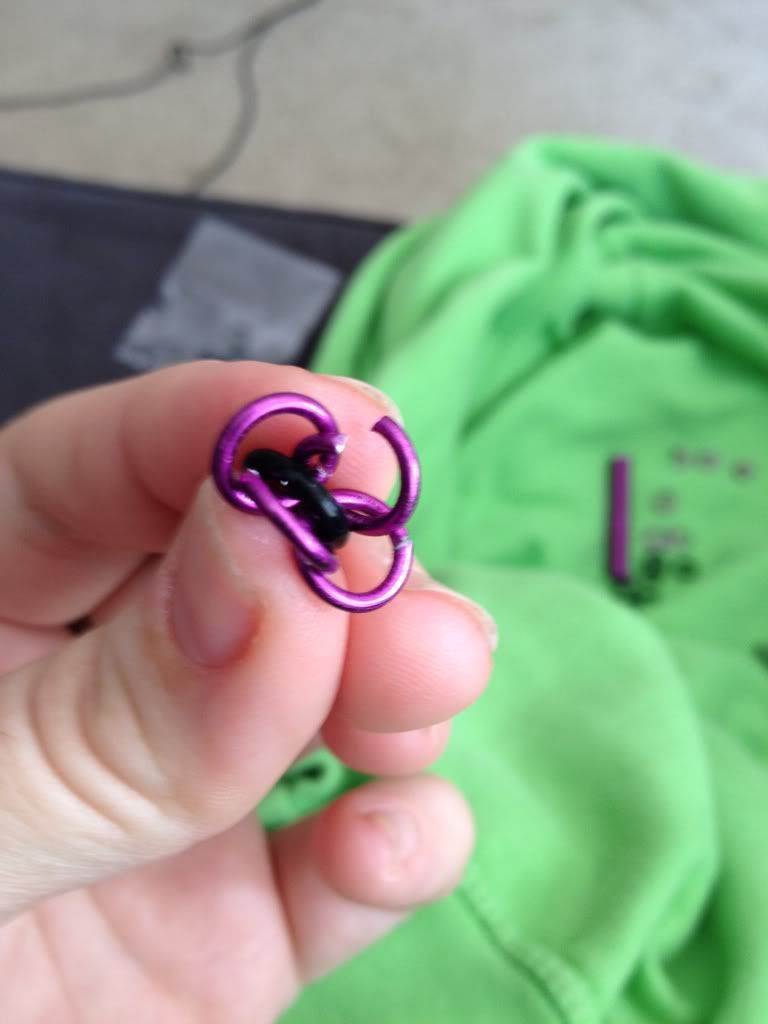
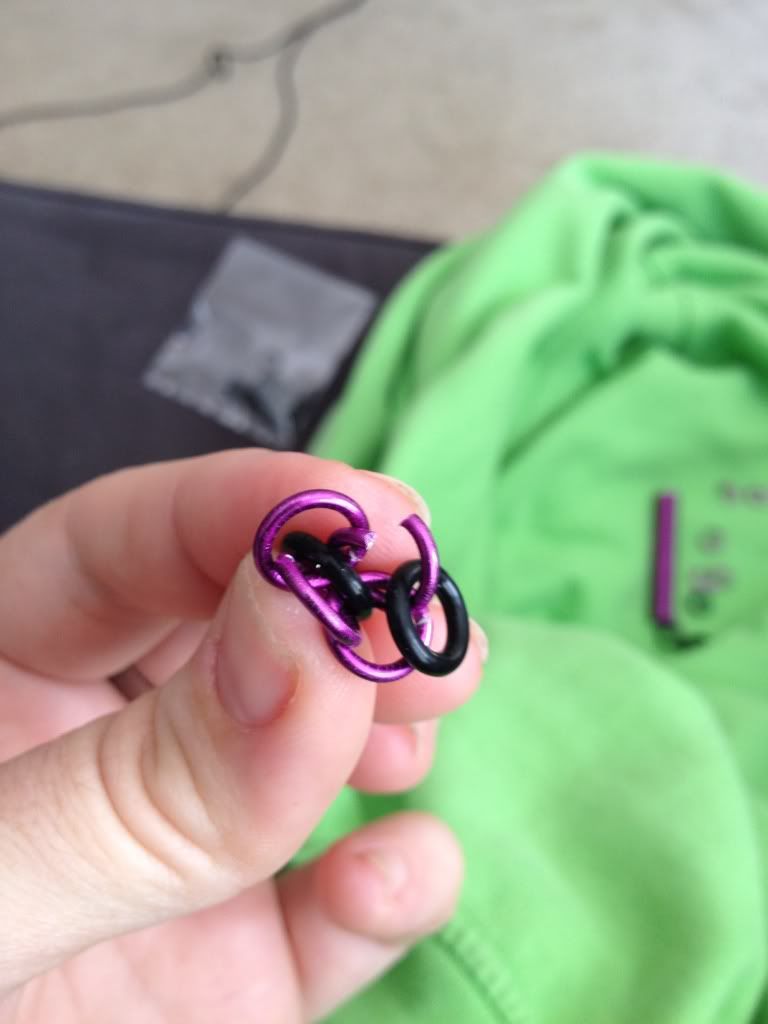
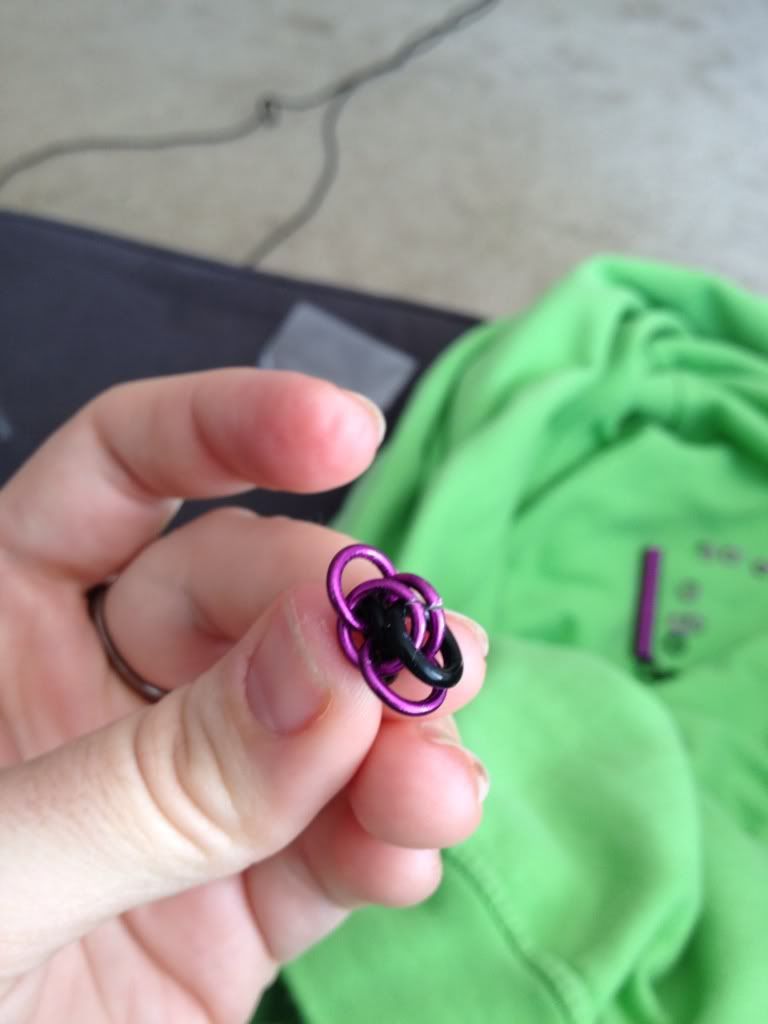
Now you're back at step one with a new black stretch ring.
Repeat steps 1-6 until you have the chain at the length you want.
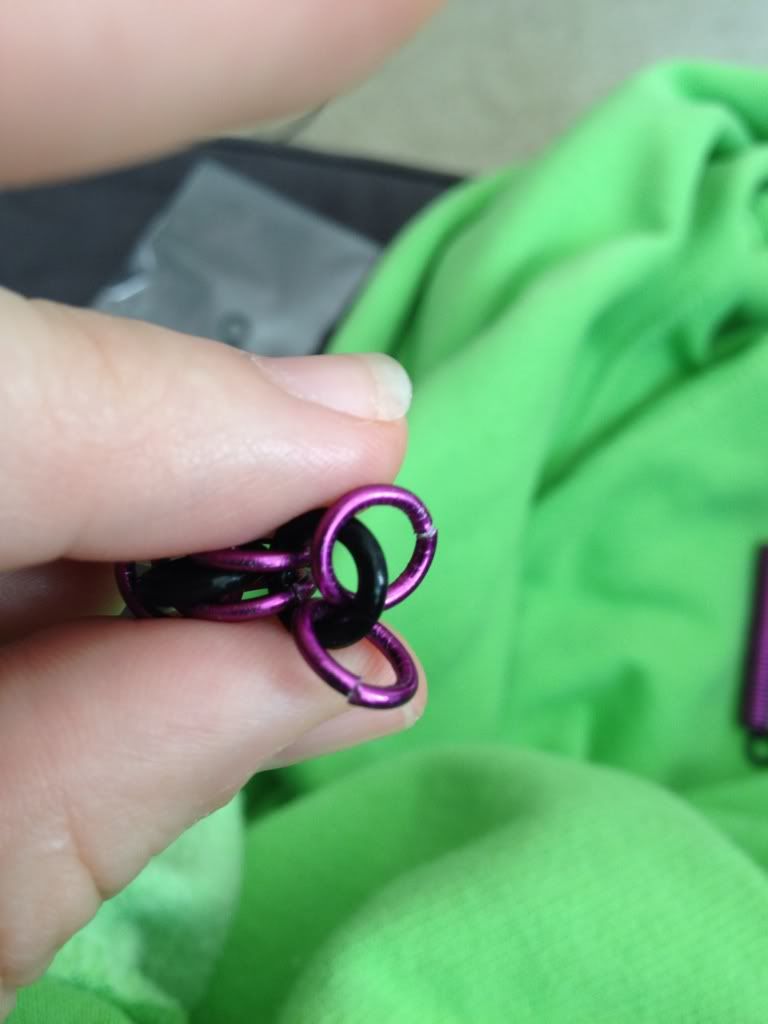
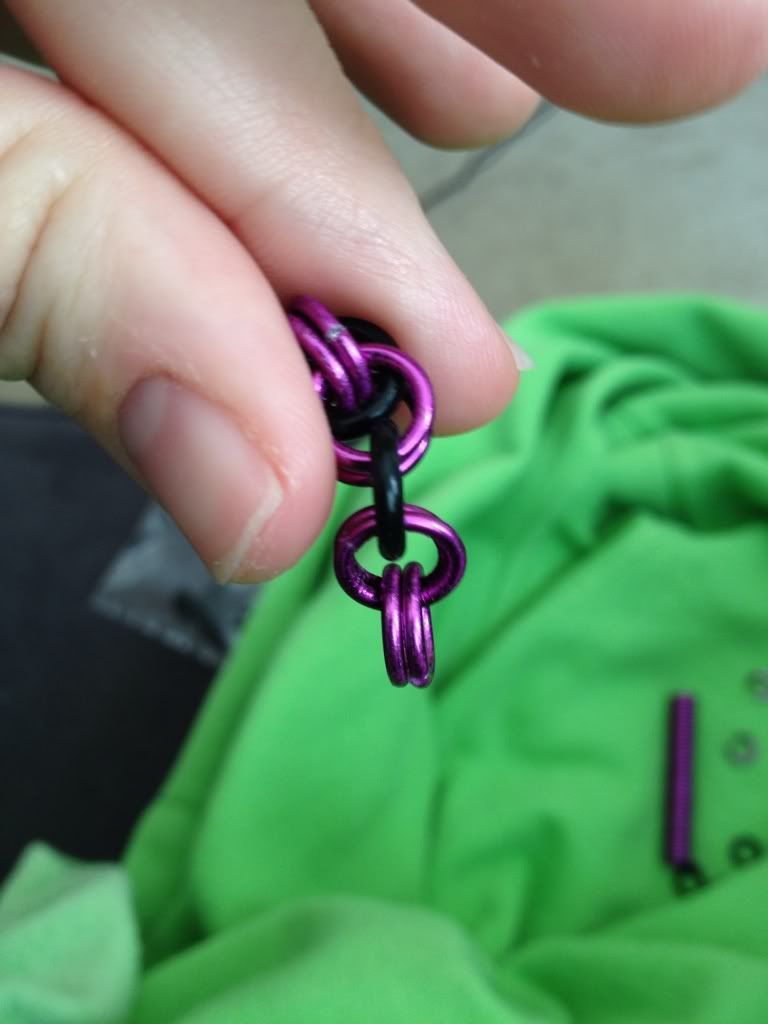
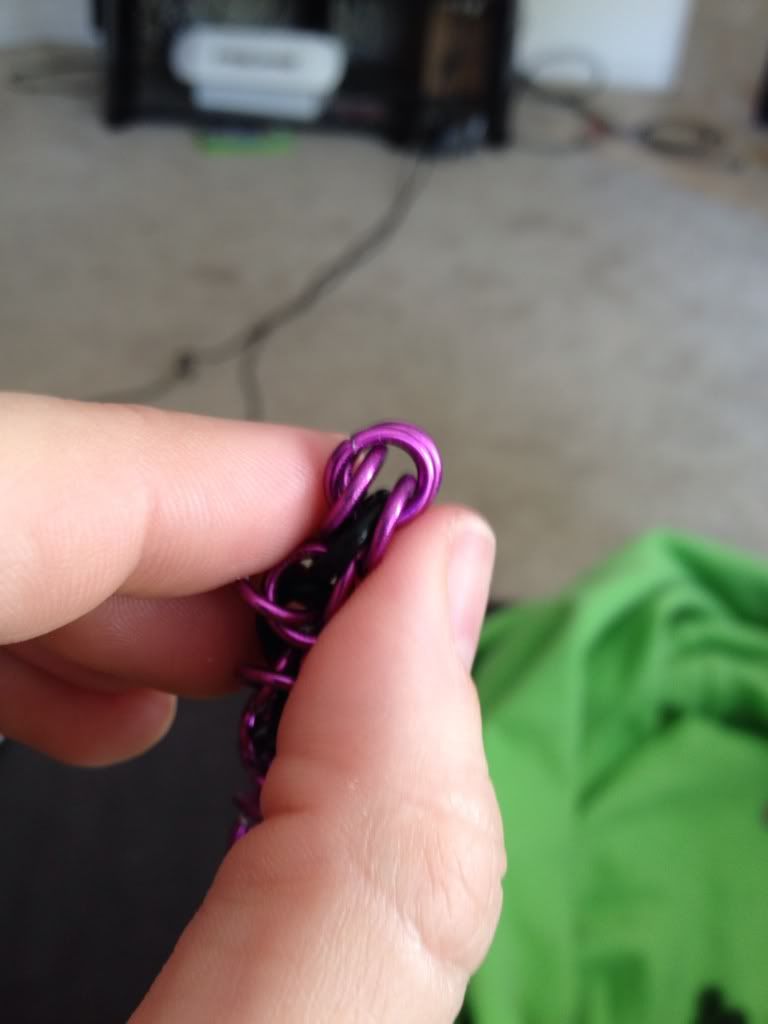
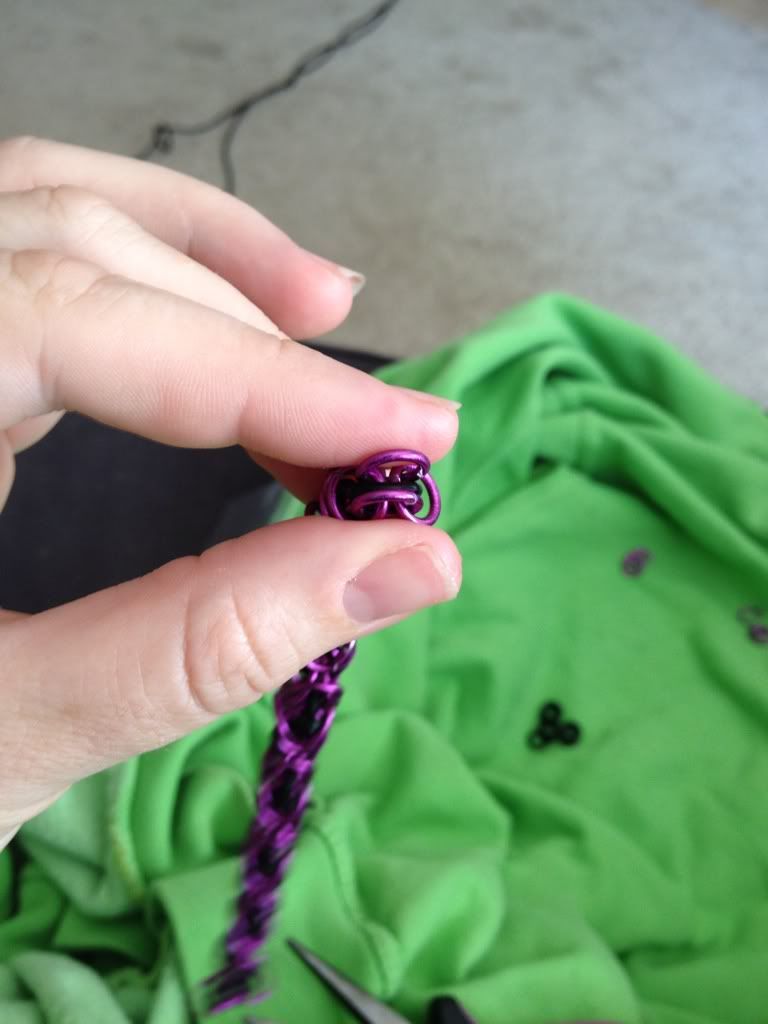
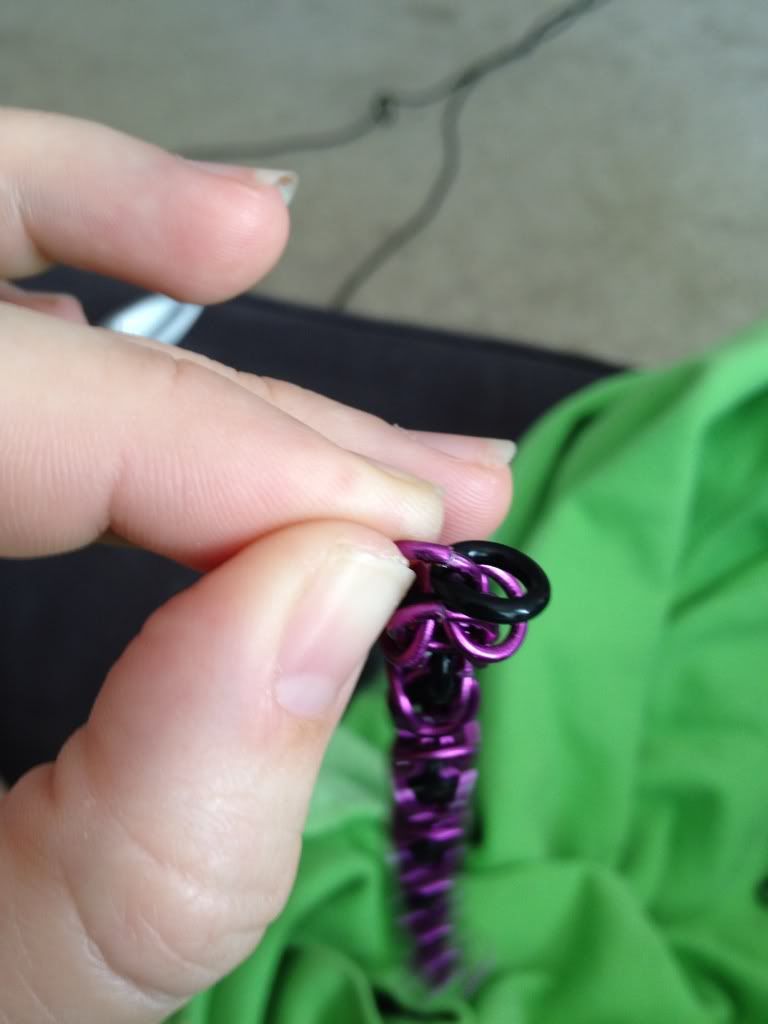
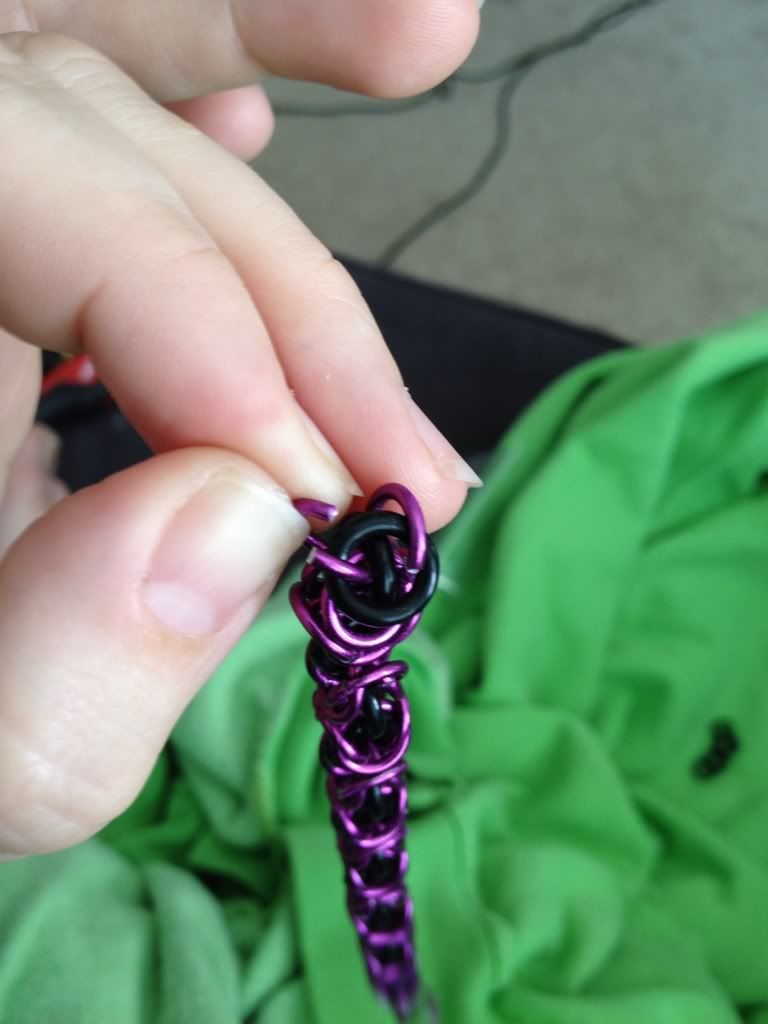
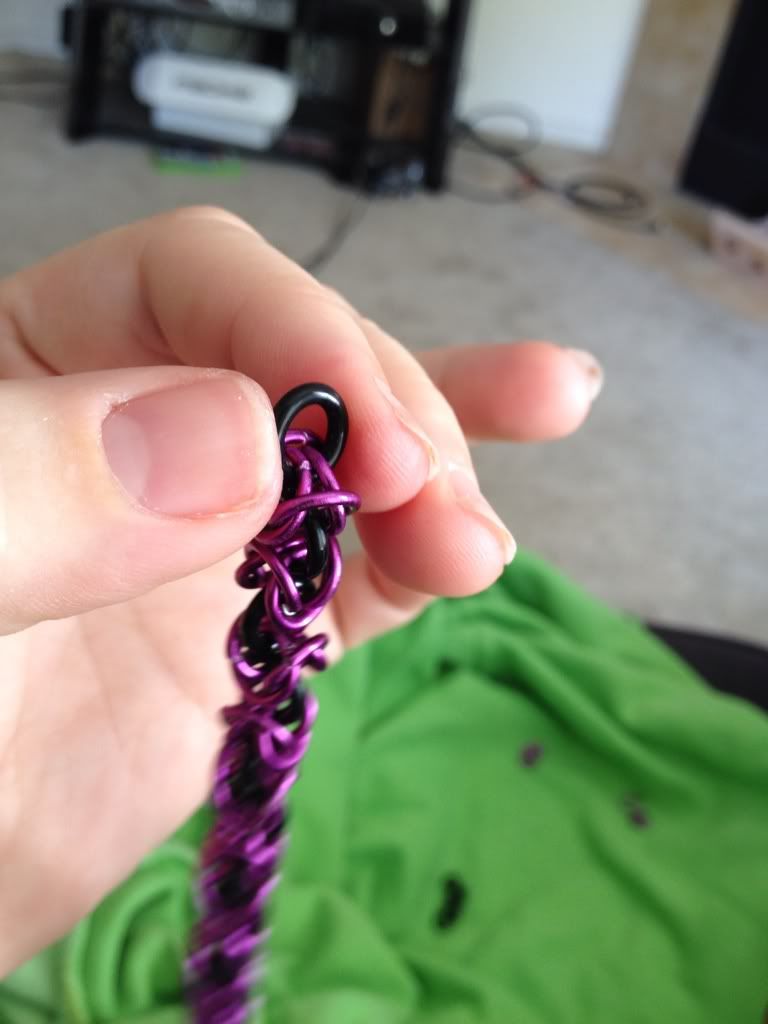
I don't like my bracelets tight so I stop when the bracelet is actually at the length it takes to go around my wrist comfortably and not stretched at all. At this time I stop after I finish step 5.
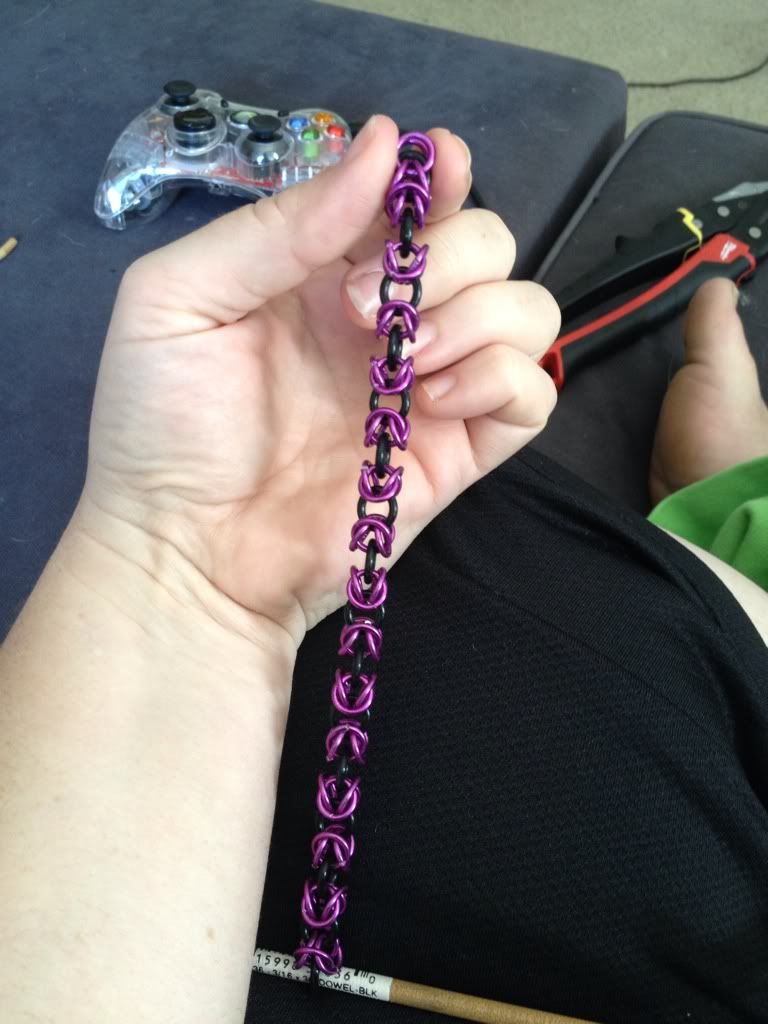 Instead of step 6, you will now use the first jump ring that you started the process with instead of a new jump ring.
It's not very important that you have the chain line up exactly because it's going to twist on your arm. But if you're ocd about this stuff like I am, look at the chain and make sure the black rings are in a pattern of open, side, open, side, open, side.
If it starts with open you need to end it with a closed or vice versa if you're going to be all anal retentive about this.
Now that that first black stretch ring and the other end of your bracelet. Open the jump rings like you would have on steops 4 and 5 and insert the first black ring in them. On this last one, I find it easier to open both purple jump rings to insert the black on in so that don't drop the black side and mess up my straight line.
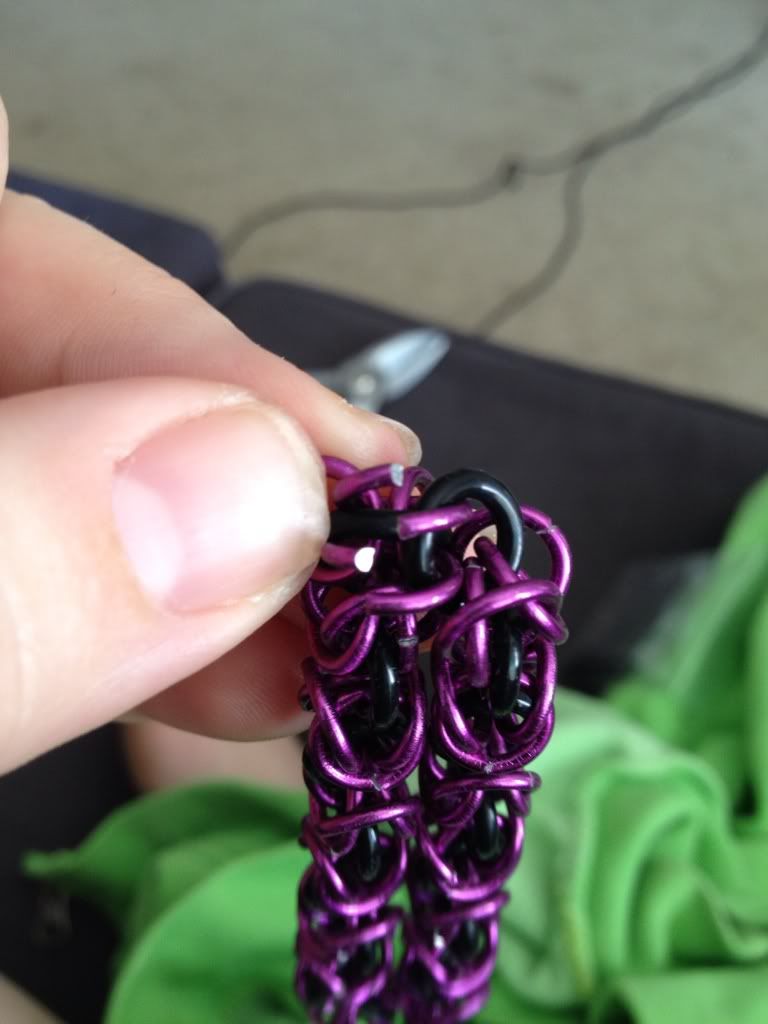
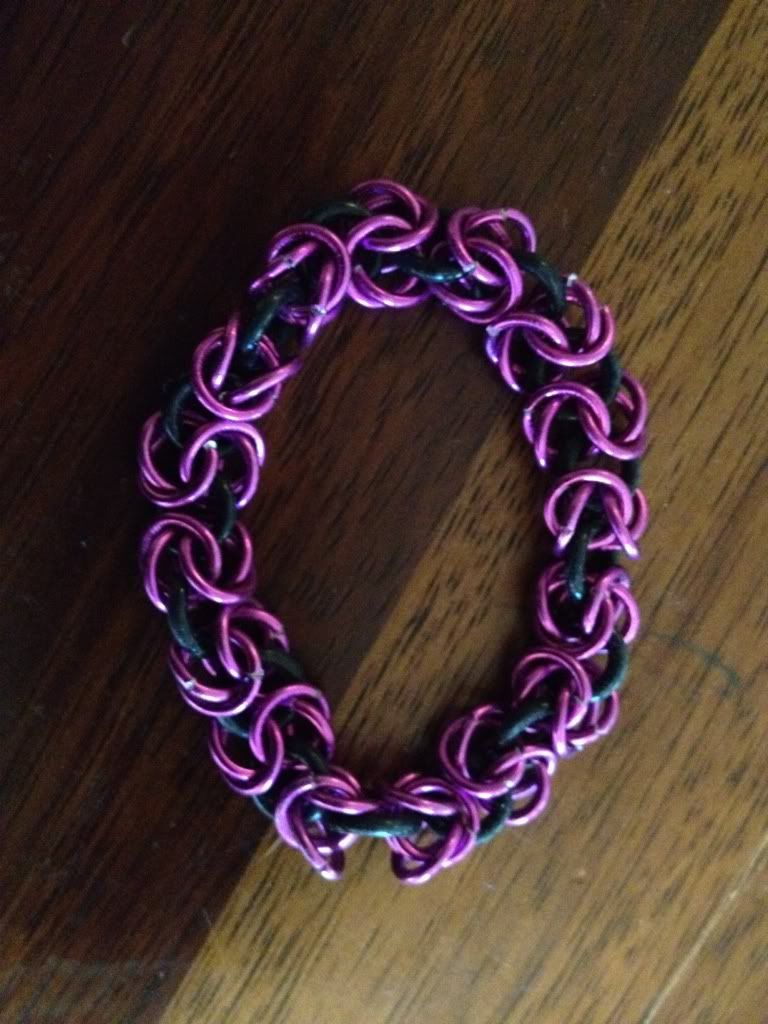
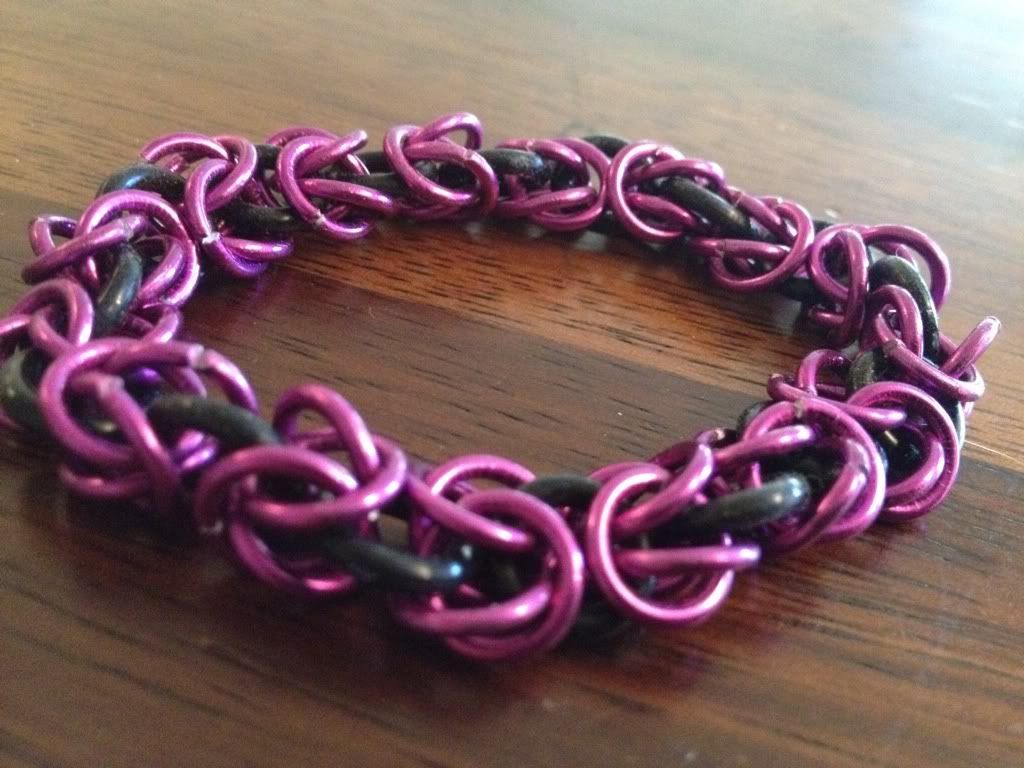
Now your bracelet should be done.
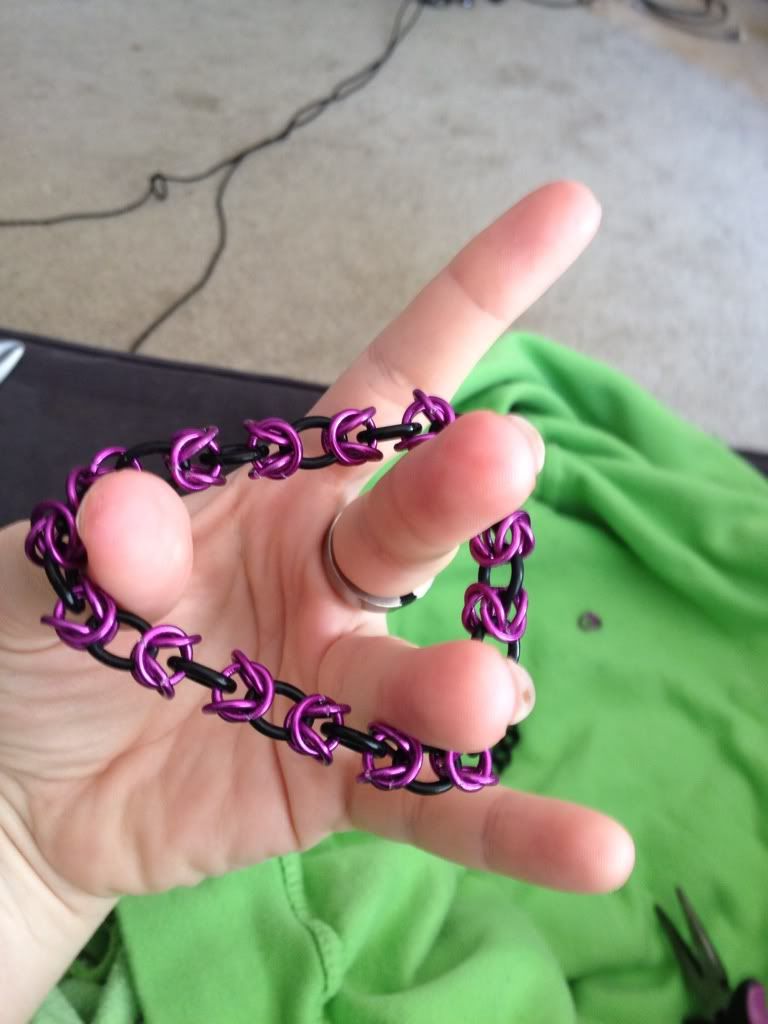
YAY!!!!!!!!!!!!!!

No comments:
Post a Comment