I'm really liking the paper beads thing. It's a cheap gift I can pretty much give anyone, but it's "special" cheap. All the beads take time and thought and more time. Yes, they're extremely time consuming.
Measure the paper, line it, decorate it (if that's one of your steps), cut it, roll it, glaze it, glaze it again, and for my projects... add the wire mount.

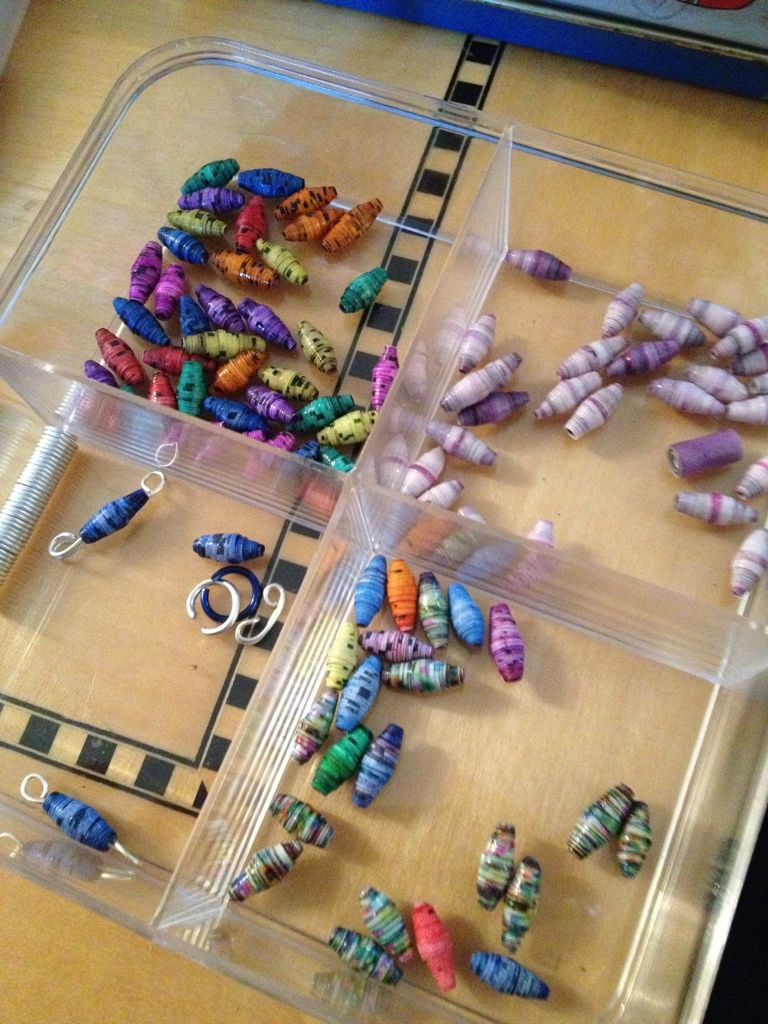
But if I want to send my niece a nice cute couple of stretch bracelets... we have to admit it my be cheap, but it's hours of love.
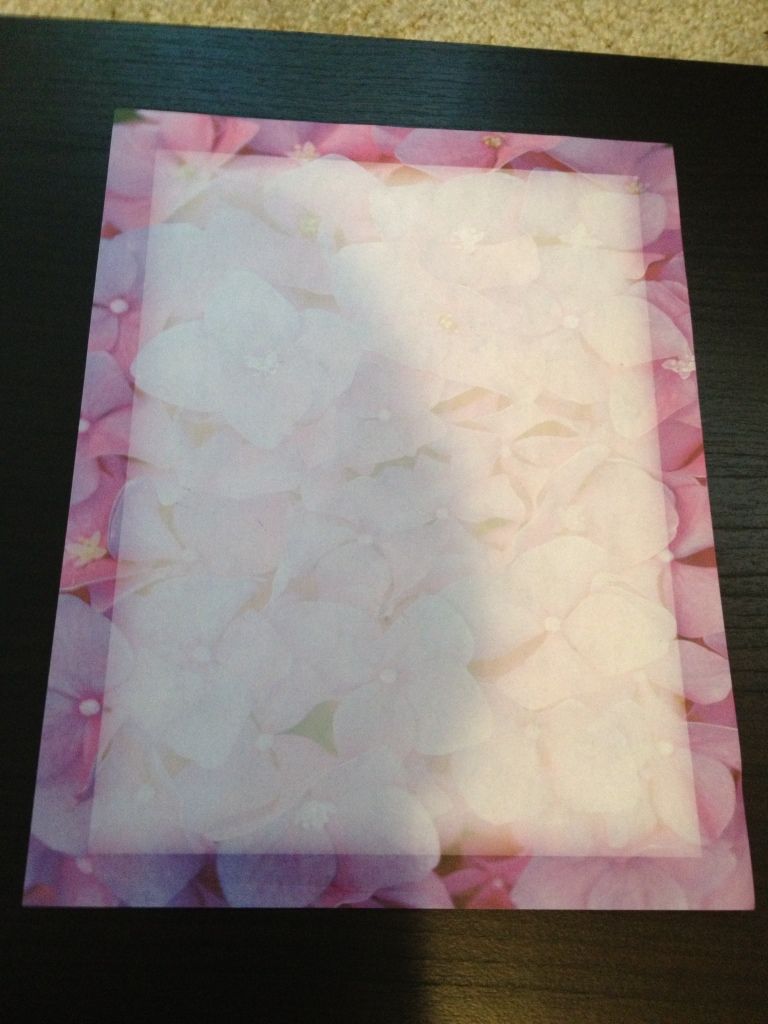
The other day, I was at a dollar store looking for some stationary paper with a fun repetative print I could use for the beads. I love the magazine ones but I wanted something a little more repetitive. I found one with purple flowers all over it. It was cute. So I had 40 sheets of stationary (they call it computer paper but it's so thin my imaginary printer would have eaten it and still not clogged up) paper for 1$.

I planned on making half inch beads. The paper was 11" high so that's 11x2=22 strips. Each strip is cut diagonal into a triangle so there's actually 2 beads made out of every strip. So that means 44 beads per piece of paper. After 44 beads and not taking into consideration the border of the paper was the color I wanted, but not the middle (made 38 light light purple with a thin dark purple strip down the middle, 2 upper half dark purple and lower half light light purple, and 4 dark purple), I was pretty much done with that paper.
But I still had 39 pieces of paper to go.

Out of curiosity, I pulled out my kids washable markers and scribbled all over the white side of the paper, then cut it up like I did with the previous beads, then rolled them up. Because the markers were washable, the glue actually made the colors bleed into each other when I went to roll them. I LOVED how they turned out.
I had previously watched a video on how to color beads and the girl said it pretty much doesn't matter what you color the inside of the triangles. It's the color on the outer edges that counts. I knew I wanted two colors but I didn't want to take the time to color edges of triangles and scribbling didn't cover all of the edges.
That's when I decided to measure out my triangles using markers to sketch the cut lines. Then I drew lines in a darker color vertically across the paper. It ended up with some pretty awesome blue tiger striped beads.
I'm gonna show you how to make them now that I wrote a book on how I found out how to make these.
You need
1 piece of white paper
A package of washable markers (preferably with thick tips)
A ruler
Scissors
Elmers glue
Diamond glaze or clear nail polish
Toothpics
Bead roller is optional but I think the toothpicks did a wonderful job.
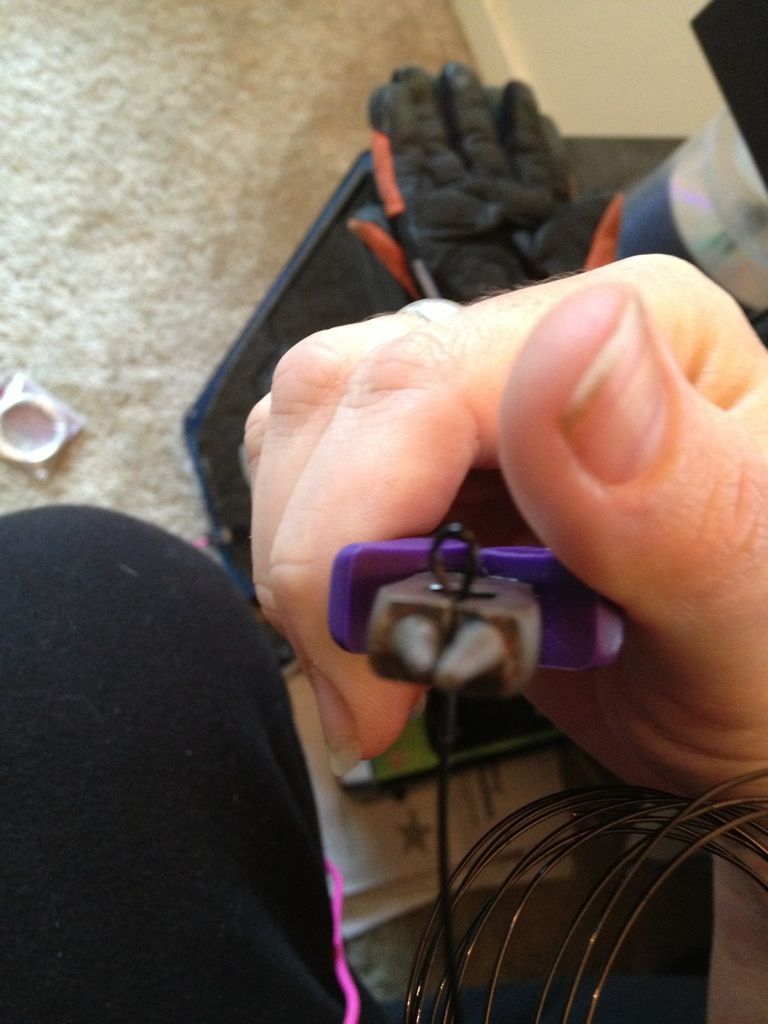
Grab your sheet of paper. Going up the tall side of the paper, make a mark at even lengths using the main color choice of your bead. I chose every 1/2 inch. Do the same thing on the opposite side. If there is a portion of the paper that is not long enough, mark it so you don't cut it. (Third picture)


The bottom of the paper does have to be lined because this part will show on your first bead. Just line it with a thick line of marker the color you want your beads. I made my lines maybe 1/8 of an inch wide. The easiest way to do it is get a thick tipped marker. Now line from the bottom corner to the opposite side's first mark. From that mark, line to the first mark on the other side. Continue in this pattern till you have a zig zag up the paper. Because these are washable markers, some wet color may stick to the ruler. As you move the ruler up the paper you could get streaks like I had. These don't mater because it's only the edges of the triangle that you'll see and you want your paper to be that color anyways.


The stripes on your paper will have to be darker than the main color of the bead if you're going to do this the way. I chose black. If you want camo beads, do a green base with brown and black as your stripes. To make the stripes, you just go down the paper in lines vertically with that color.

Now for the part I hate the most... cutting. When you cut, cut right in the middle of your blue line. This way there is blue on both sides because you need blue on both long lengths of the triangles. If you cut too deep into a line and don't have enough blue on one side, just quickly add a little blue there. Not a lot is needed though because as you roll the bead, only a little of each level will show. Halfway through the paper I was done lining so I only had to cut 24 ;p
Now you get to roll the beads. I used a toothpick to start but after about 3-4 rolls I slipped it off the toothpick and held the edges to roll it. I just found it easier. But you can keep it on the toothpick if you want. As you roll, make sure the the paper is in the middle as you roll it or you will have a very lopsided bead.


(I had to get the picture of Dr. Rizzo in there.)
When you get to the end of the bead, put a dab of glue on your finger and roll it over the thin end in the middle of your bead. How faded you want this bead is how much glue you use. I used enough to cover the whole bead on a few of them and the rest I used just enough to cover the middle. Because the markers are washable and the glue is liquid, where you roll the glue will fade a little depending on how much you rub the glue there. But don't worry, the blue won't come fully off. It will just be lighter there. And if this makes the whole bead too light for you, let it dry and do the glaze on this one. The glaze will make it darker but it's better to know now than to do the whole batch this way and end up with 40+ beads you don't want. Also, please remember to wash your hands. The glue also picks up the color and gets it all over your fingers. Thank God for washable markers!


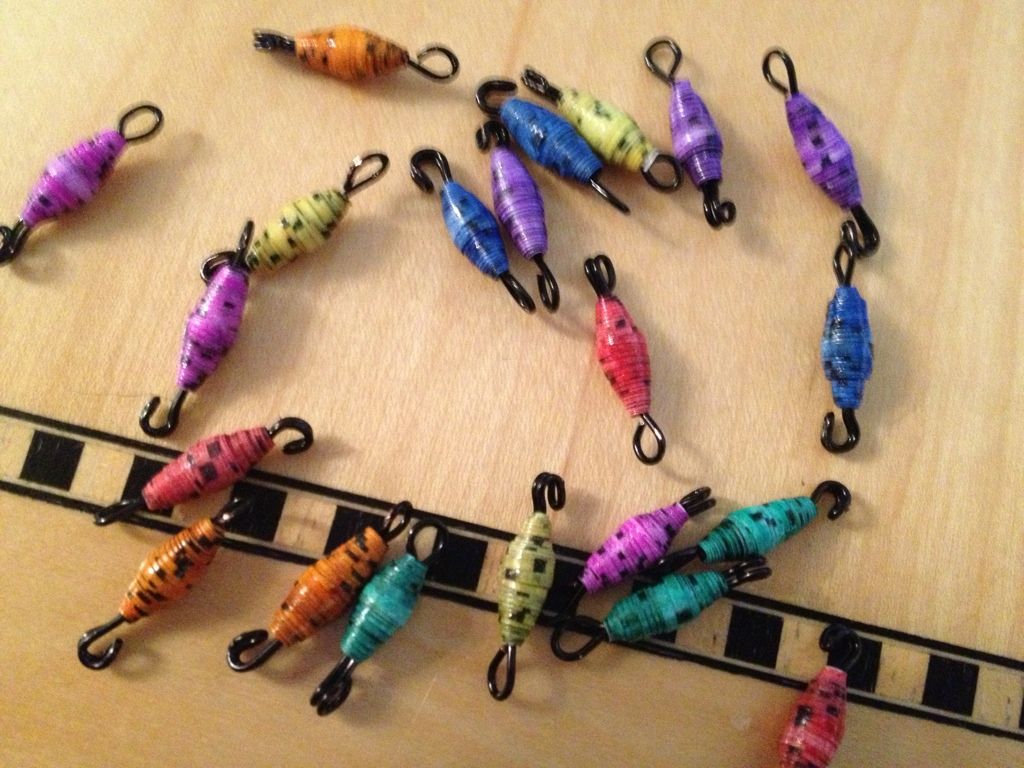
The beads in the above picture have not been glazed yet. You will see the difference in color after even just the first glaze. Your beads will not turn out that white... unless you went crazy with the glue.
Now for the glazing process. Again, I used clear nail polish. I still can't find the diamond glaze in stores here. In case you didn't see my other "paper bead how-to", this is where you use the toothpicks the most. They hold the bead up while the glaze is drying.
After the first glaze...

Seeeeee, not so white. Sorry the other beads are in there also. I had just done their second glaze. And the foam under it is a Halloween tombstone I got at the dollar store.. holds a ton of beads up for me :) High five for being thrifty cheap!
And after the second glaze...

Some of the beads sit on the top of the toothpick because I hand roll. If you keep it on the toothpick while rolling, some may slide on you. In this case, put a little polish on the toothpick under the bottom of the bead. It will hold the bead up but not permanently keep the bead on the toothpick.
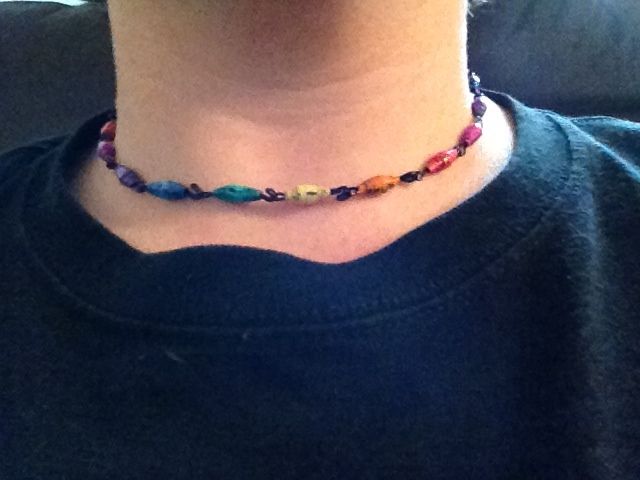
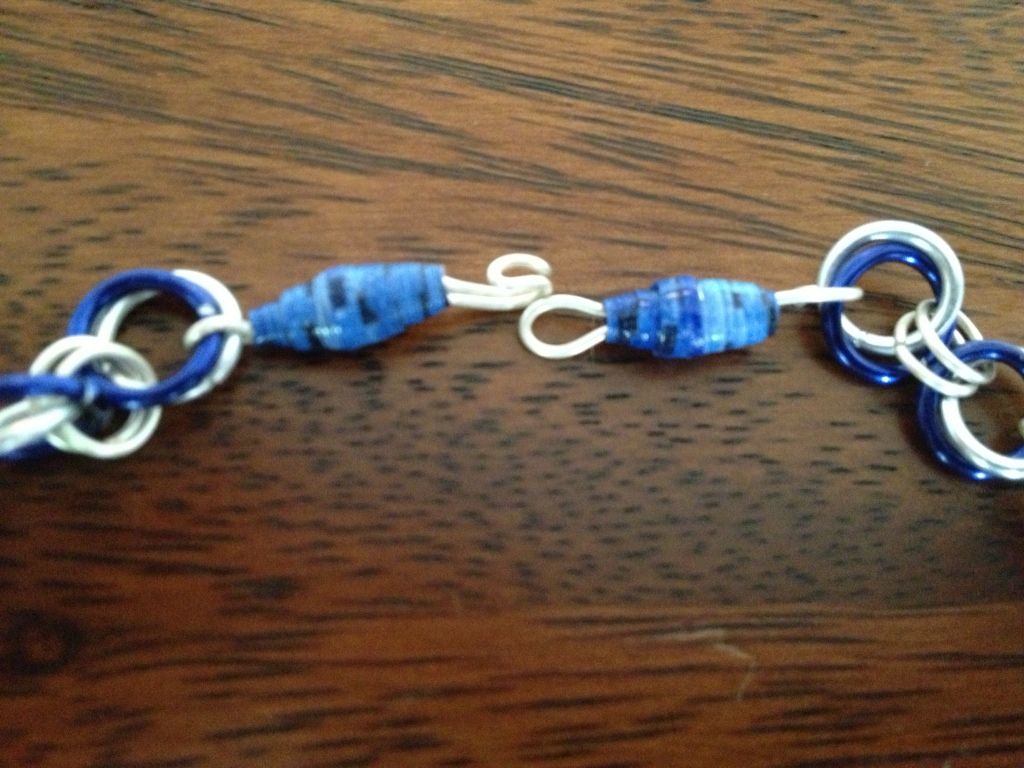
Now for the final result after blinging them out with wires...

 Available on Etsy here


If you want to know how to make the hidden clasp like this, let me know and I'll message you about it. It will probably be another how to later on. :) Extremely easy to do.

 A big issue I have with some of my work is the clasp. Which clasp do you use? Will it work for the person wearing it? Will it make you become one of those people that constantly asks for help with putting on or taking off jewelry? Will it completely ruin your piece? So what I'm finding is the more I can hide it, the better.


 Using the round nose pliers again, roll this loop over it to make your hook. The more closed it is, the better the jewelry will stay on but the harder it is to put on or take off. This side of the hook is done, but now you have to finish the other side.
 This is optional but... at the base of the hook, bend up just a little. This will make sure the bead doesn't slide into the hook and #1 throw off your measurements and #2 block the eye from going into the hook.
 It's actually pretty similar. Grab the spool of wire and put the bead over the edge of it. Bend down the top inch like you did in the hook. But instead of crimping it all the way to the top, you leave the loop open enough that your hook will fit into it and wide enough that the bead won't slid off of it.
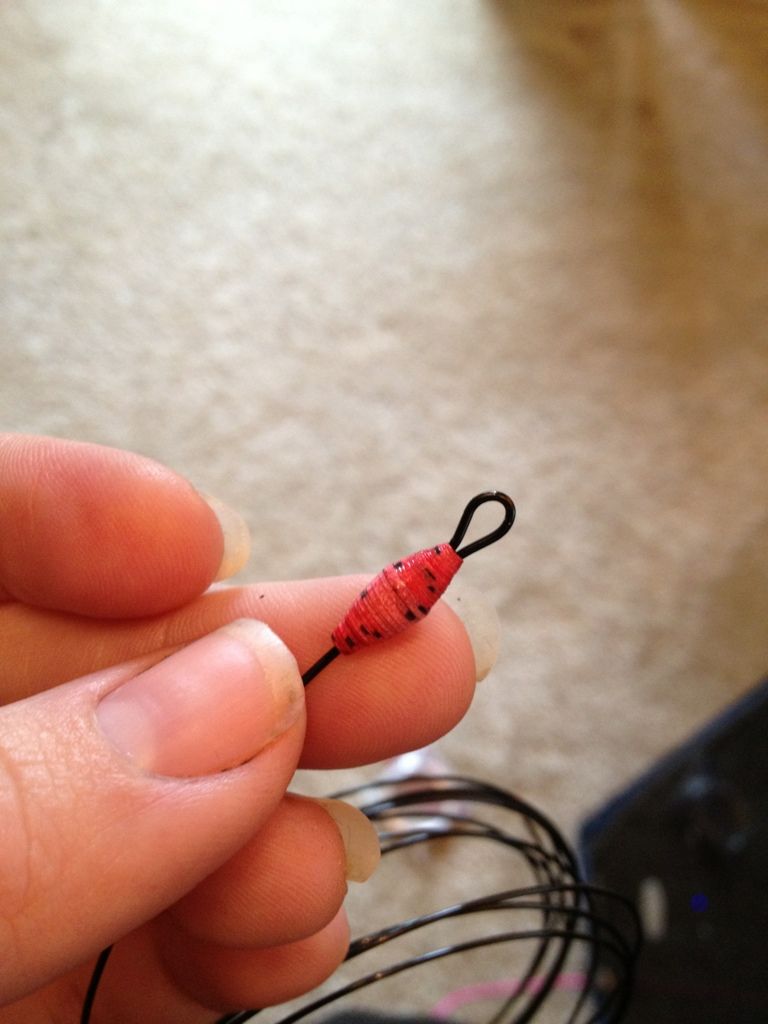
 Remember the little bear beads we had as kids where the top of the head had a knob of plastic coming out of it and a hole in the bottom of the bear so you could attach the bears to each other?
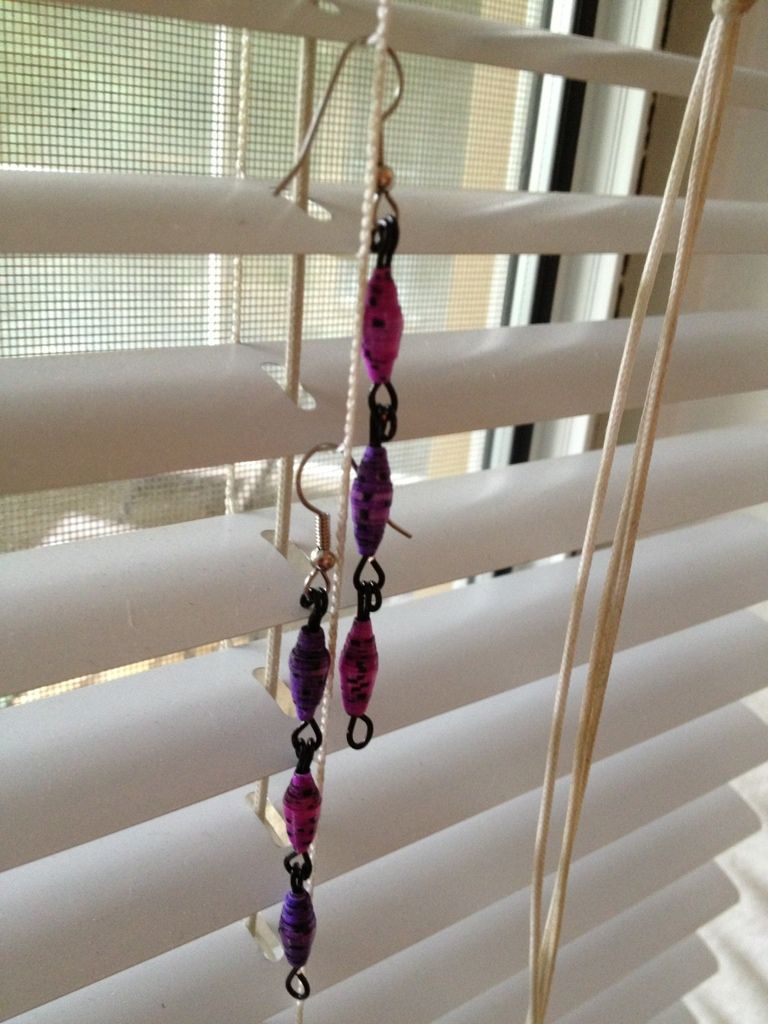 The color choices are red, orange, yellow, green, blue, purple, and pink tiger beads. I will make whatever variety of those you choose. So if you want 20 red, 17 green, 3 blue, and 10 yellow, that's what you get. They are great for making bracelets, anklets, necklaces, or even earrings.
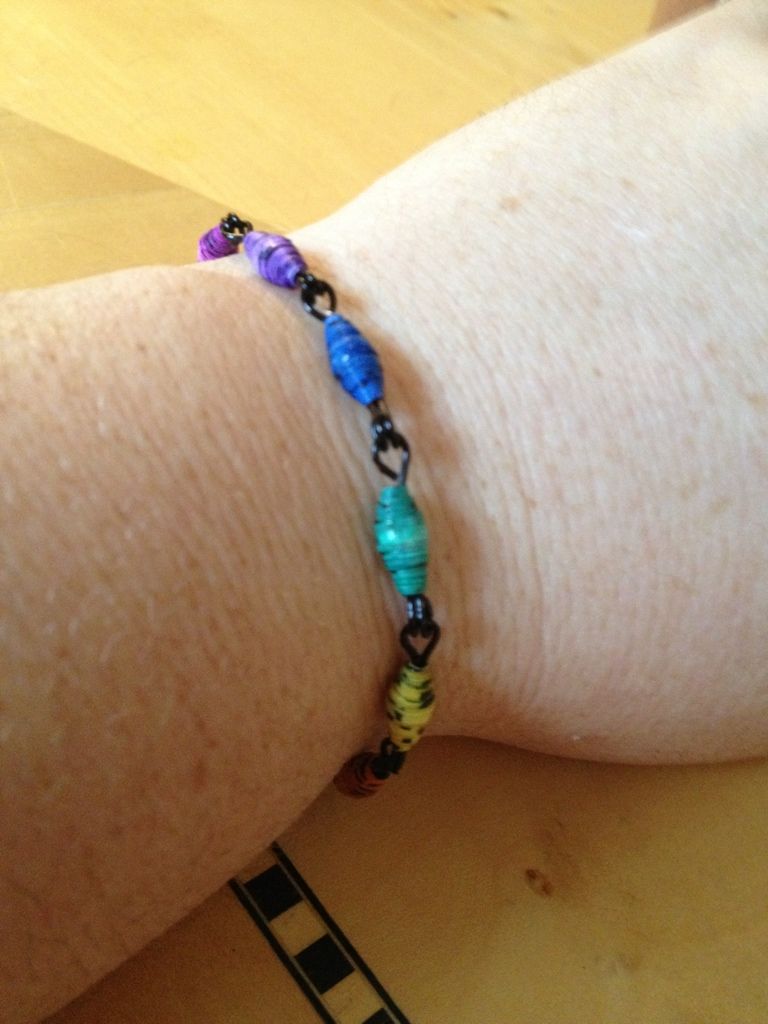
 But if I want to send my niece a nice cute couple of stretch bracelets... we have to admit it my be cheap, but it's hours of love.
 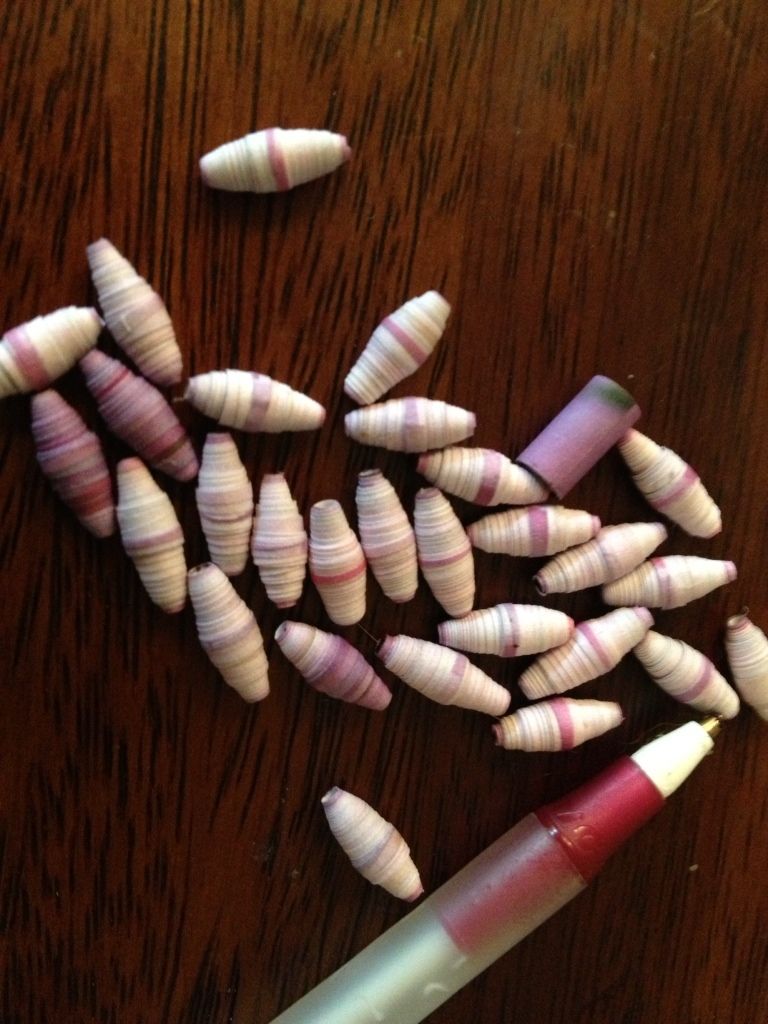 I planned on making half inch beads. The paper was 11" high so that's 11x2=22 strips. Each strip is cut diagonal into a triangle so there's actually 2 beads made out of every strip. So that means 44 beads per piece of paper. After 44 beads and not taking into consideration the border of the paper was the color I wanted, but not the middle (made 38 light light purple with a thin dark purple strip down the middle, 2 upper half dark purple and lower half light light purple, and 4 dark purple), I was pretty much done with that paper.
 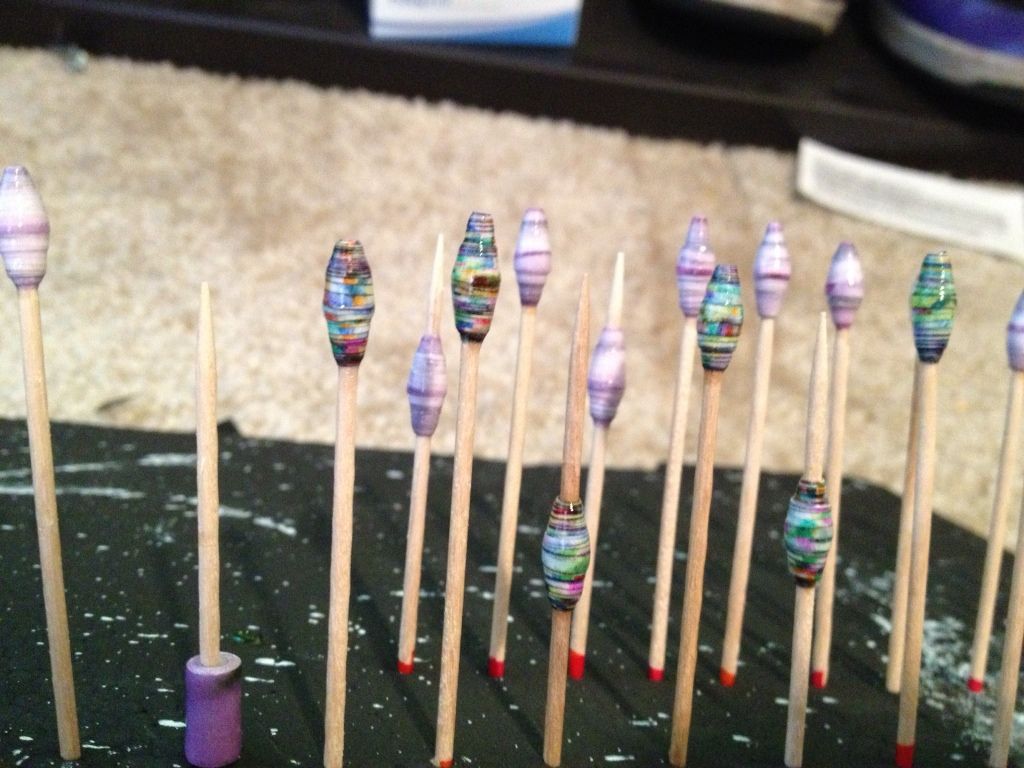 Out of curiosity, I pulled out my kids washable markers and scribbled all over the white side of the paper, then cut it up like I did with the previous beads, then rolled them up. Because the markers were washable, the glue actually made the colors bleed into each other when I went to roll them. I LOVED how they turned out.
 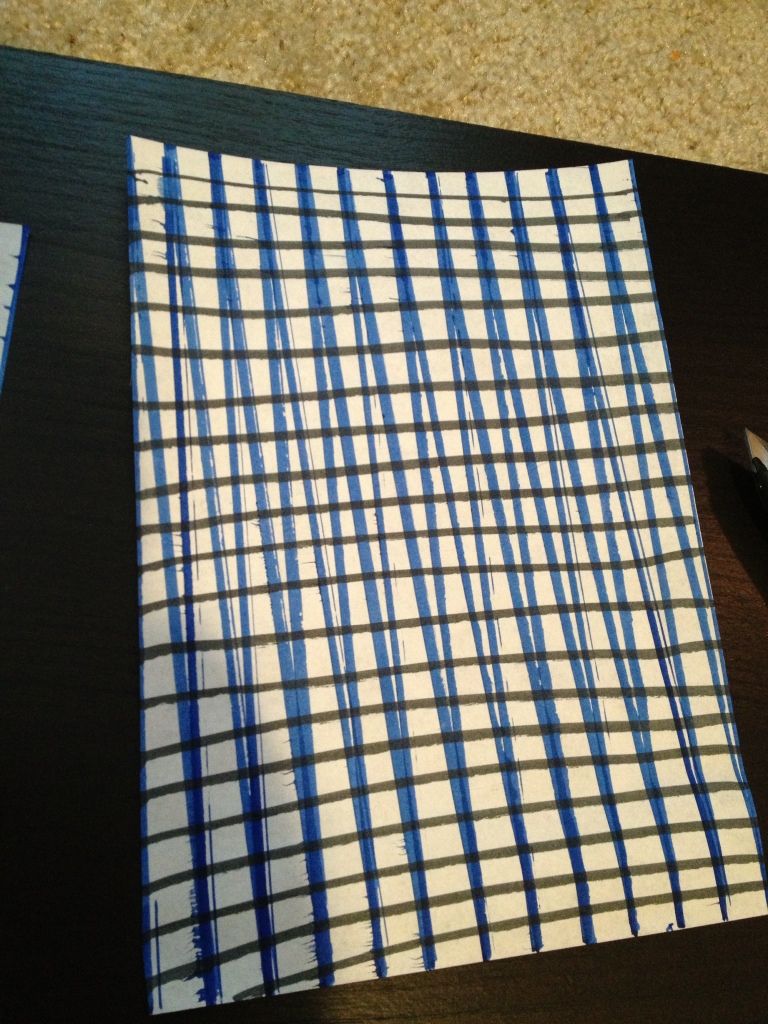 The stripes on your paper will have to be darker than the main color of the bead if you're going to do this the way. I chose black. If you want camo beads, do a green base with brown and black as your stripes. To make the stripes, you just go down the paper in lines vertically with that color.
 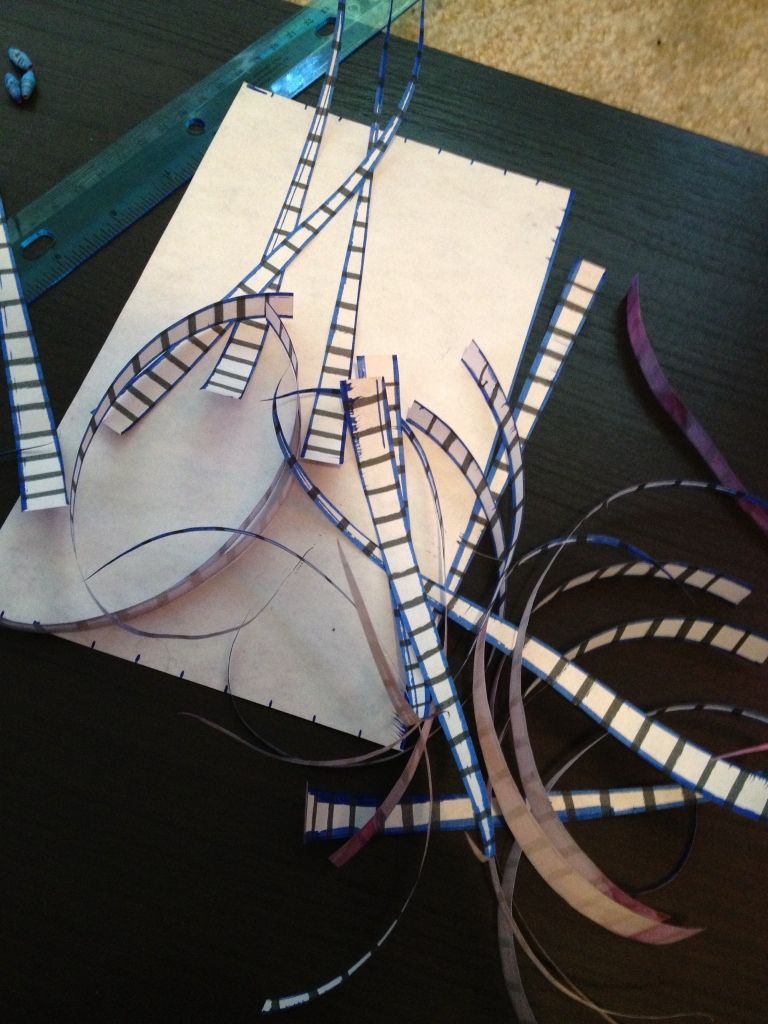 Now for the part I hate the most... cutting. When you cut, cut right in the middle of your blue line. This way there is blue on both sides because you need blue on both long lengths of the triangles. If you cut too deep into a line and don't have enough blue on one side, just quickly add a little blue there. Not a lot is needed though because as you roll the bead, only a little of each level will show. Halfway through the paper I was done lining so I only had to cut 24 ;p
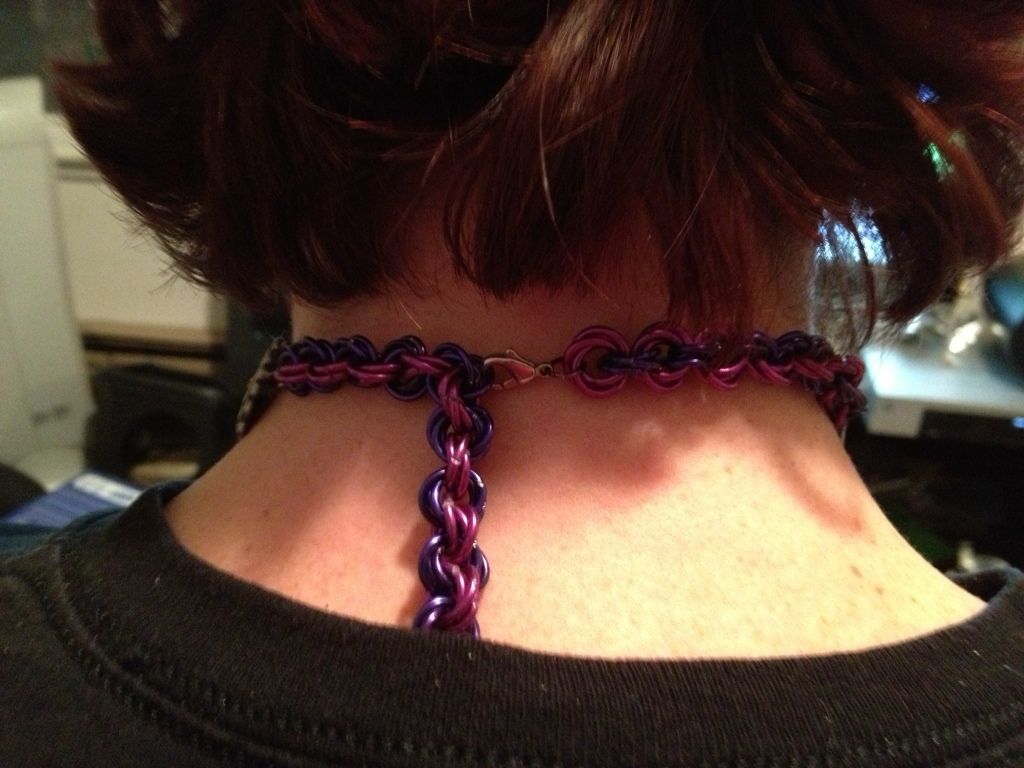 I know I know, I promised a tutorial on regular byzantine. But the project I started as a byzantine... and actually finished that way, didn't come off as what should be a byzantine. So I did a rose vine instead. And this is actually pretty easy. One of the easiest actually.
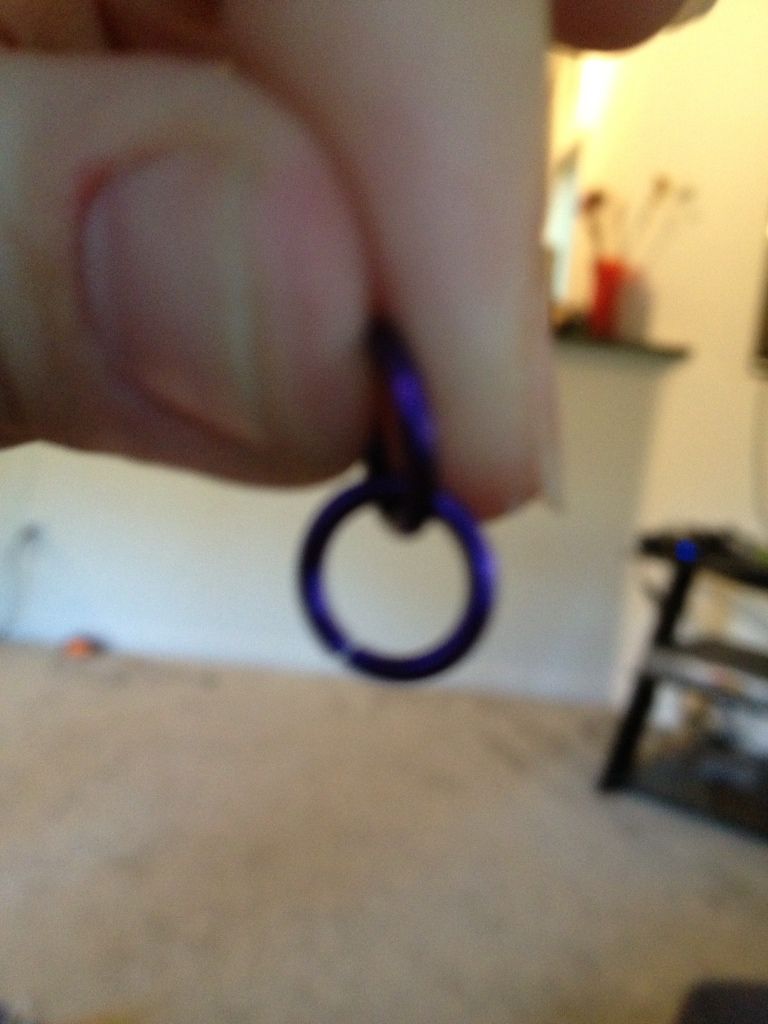

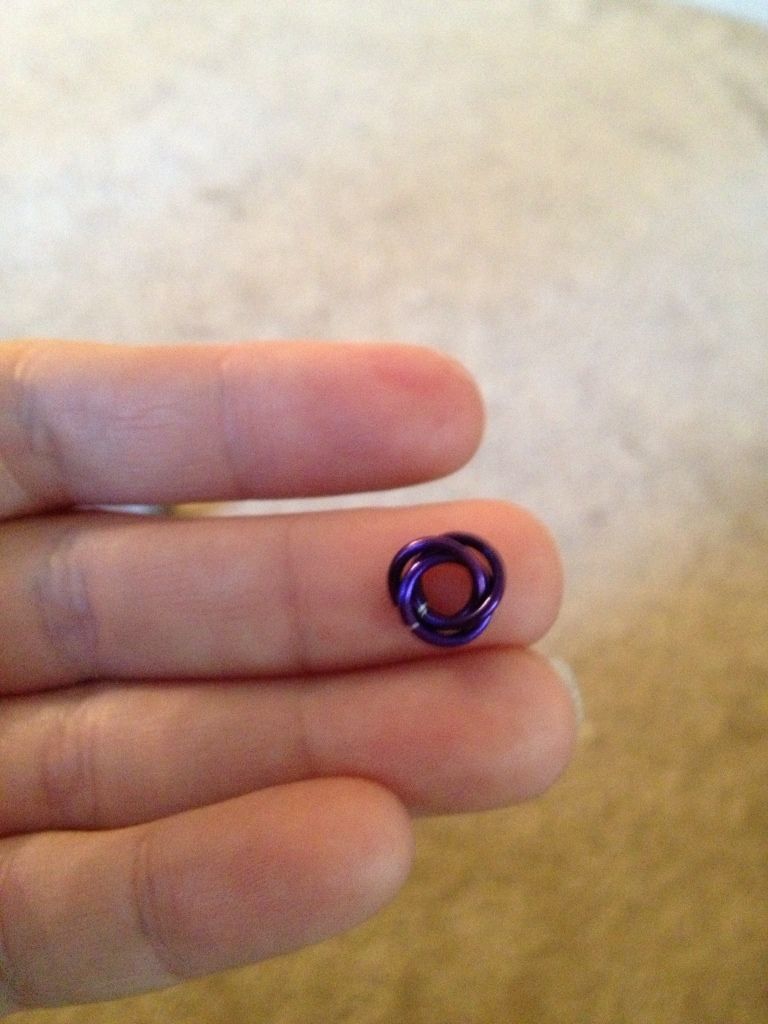
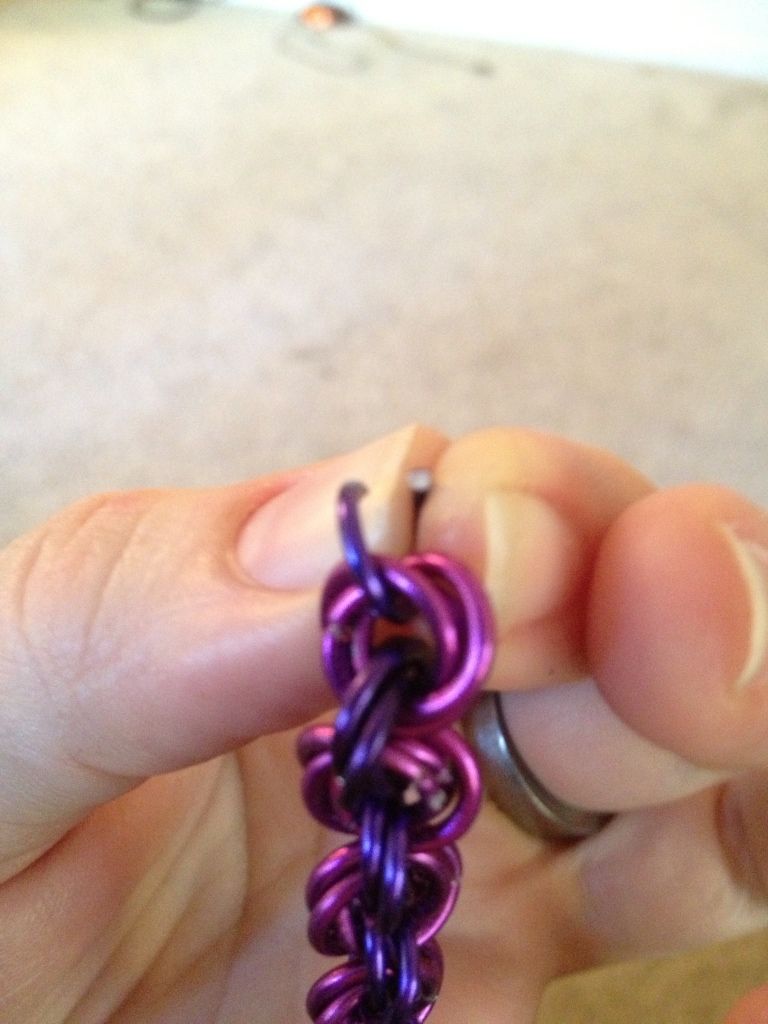
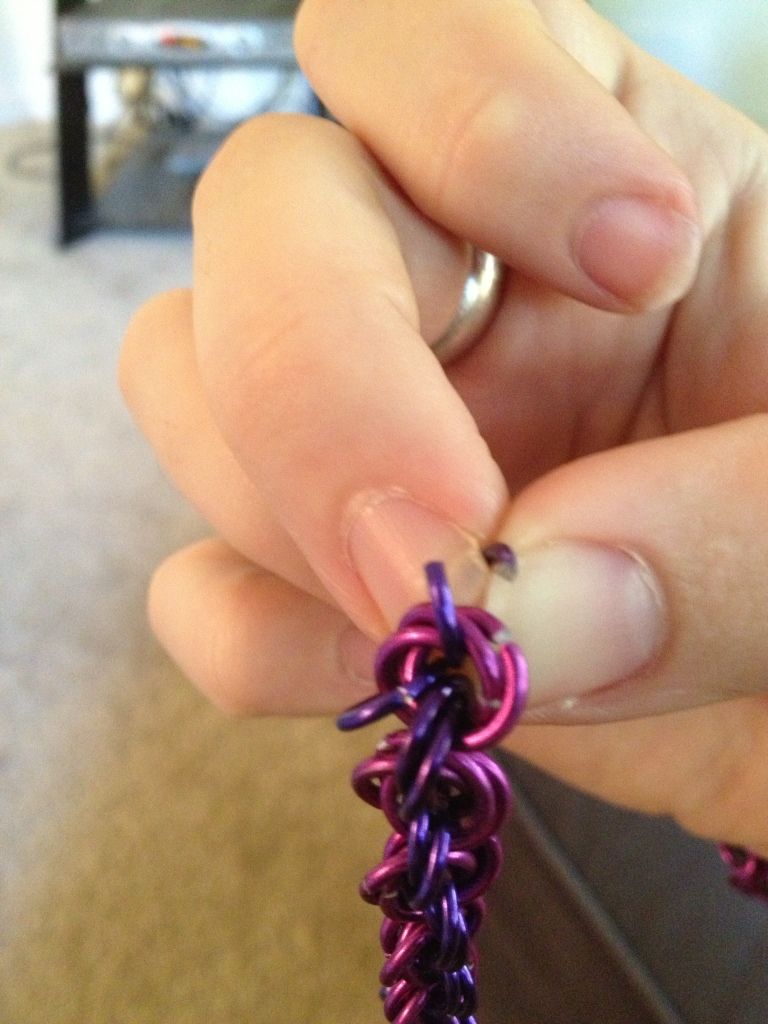 To add onto your vine, you're going to repeat the same process, but you're going to start by looping your first jump ring through the middle of the first rose (or whatever is on the pattern before your rose).
 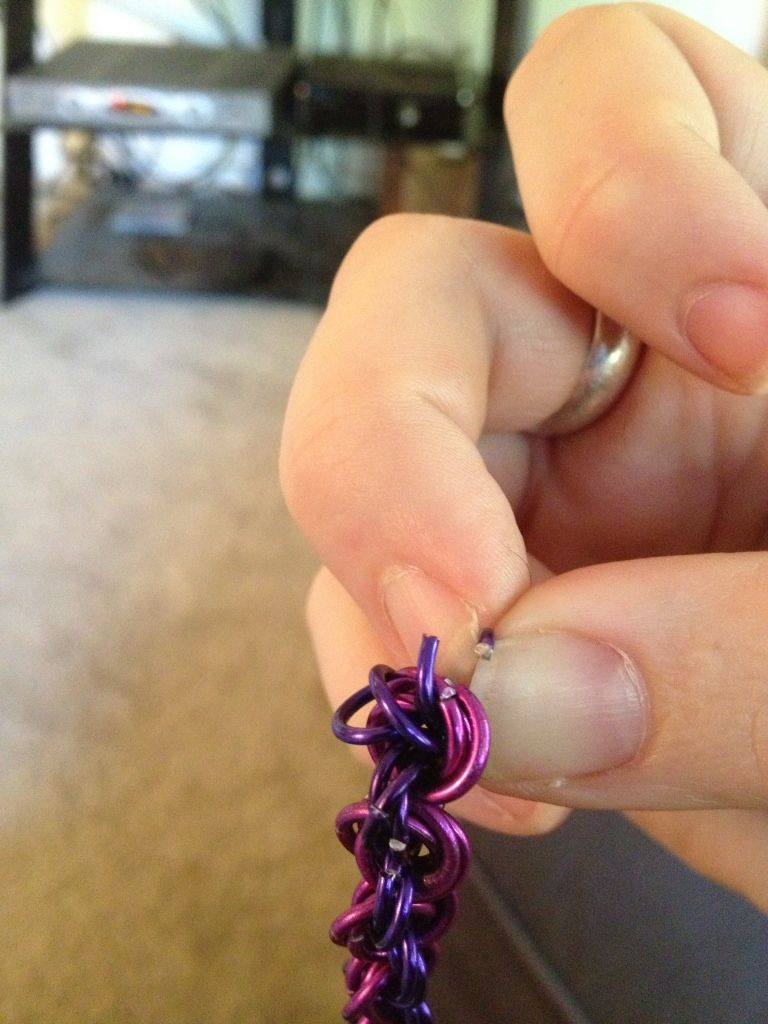 Now do the same thing with the next jump ring, except you run one side under both of the jump rings in this rose at the top. ------------------->
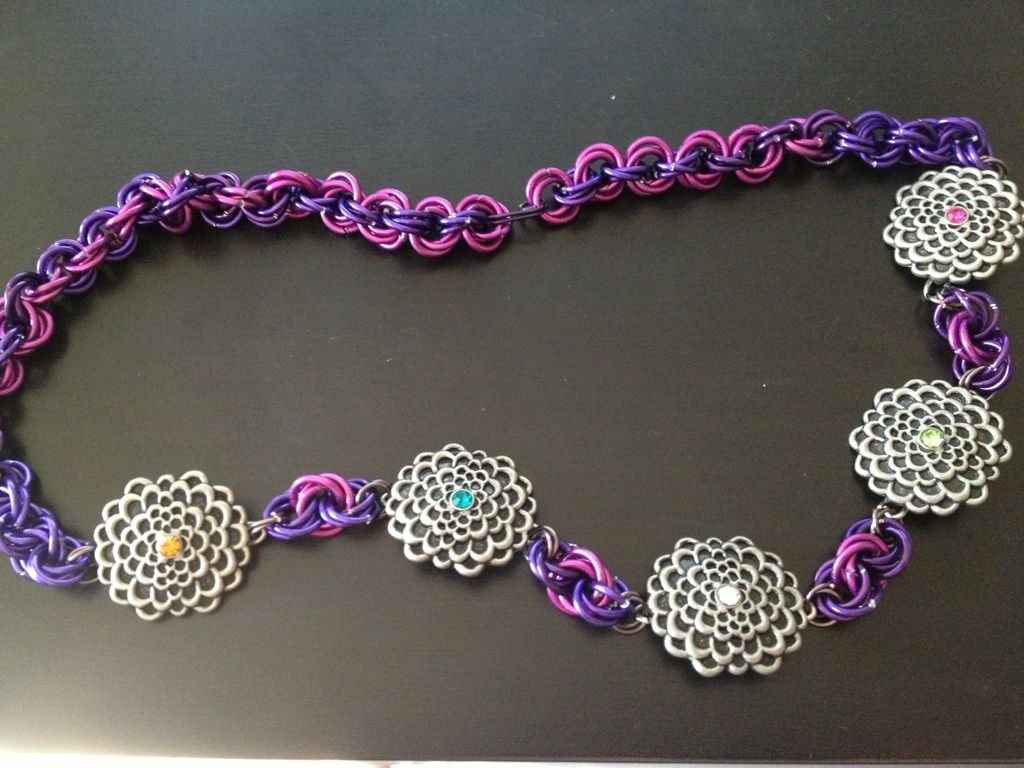
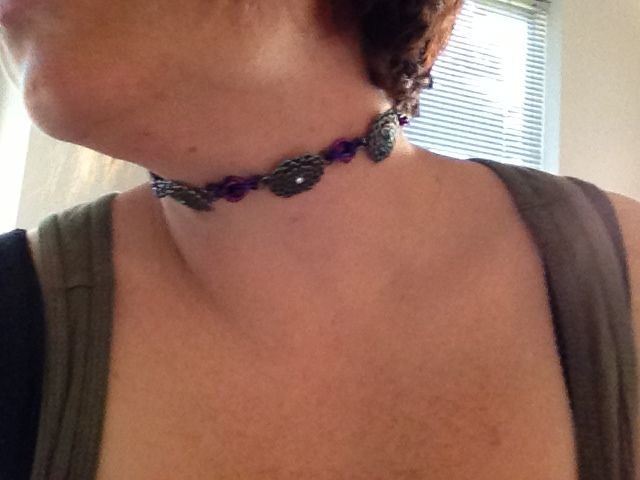 Aaaaand for the finished project-