 I know I know, I promised a tutorial on regular byzantine. But the project I started as a byzantine... and actually finished that way, didn't come off as what should be a byzantine. So I did a rose vine instead. And this is actually pretty easy. One of the easiest actually.
 For one rose, you need 3 semi thick jump rings. Thinner ones don't show the actual rose pattern as well unless you make it small. So I tend to use a size 18 or 16g wire for this. On this one I used aluminum 16g. I suggest you use an 18g on your first vine.
Step 1- Take one closed jump ring and put an open one through it. Now close the open one.
 |
| Step 1 |
Step 2- Lay the rings over the top of each other so they look like one ring.
 |
| Step 2 |
 | |||||||||||
| Step 3 |
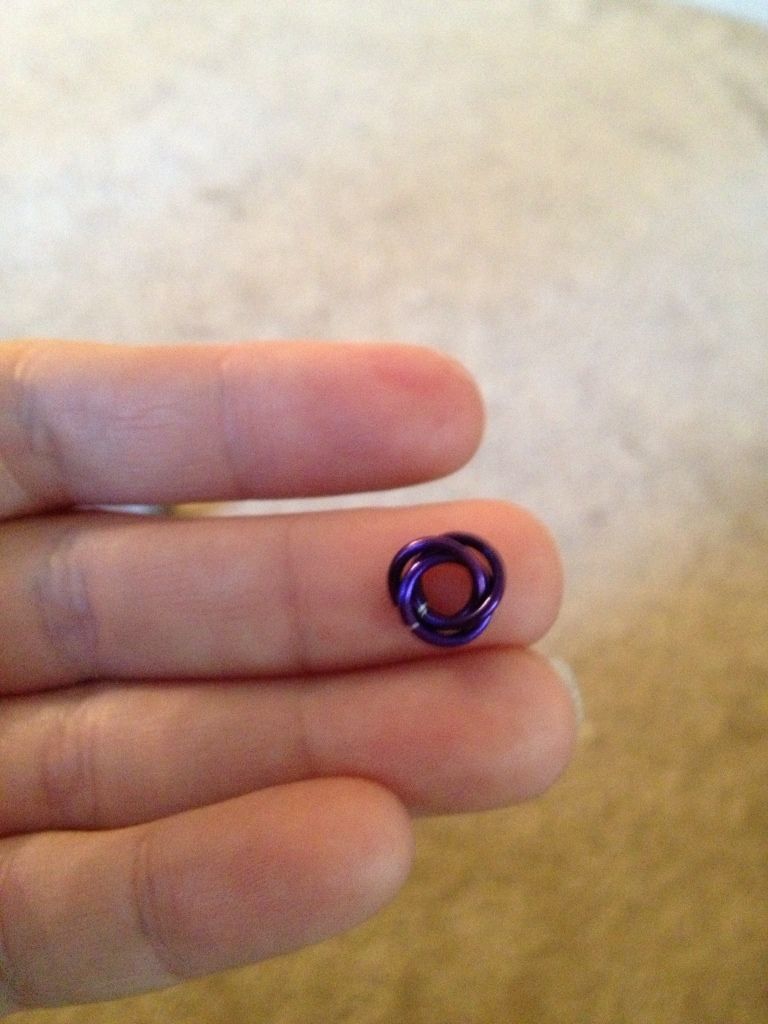
Now you have a flower. These were the original middles to my byzantine pattern which is how I got the idea to do the whole thing as a rose vine. But we need a vine of flowers, not just one flower.So we're going to move on.
What you can't tell from this picture is that the sides of the flower are about half the size of the middle of a jump ring. You can kind of see it in the first picture, but there will not be a lot of room in the middle of these rings. That's why I suggested you start with an 18g.
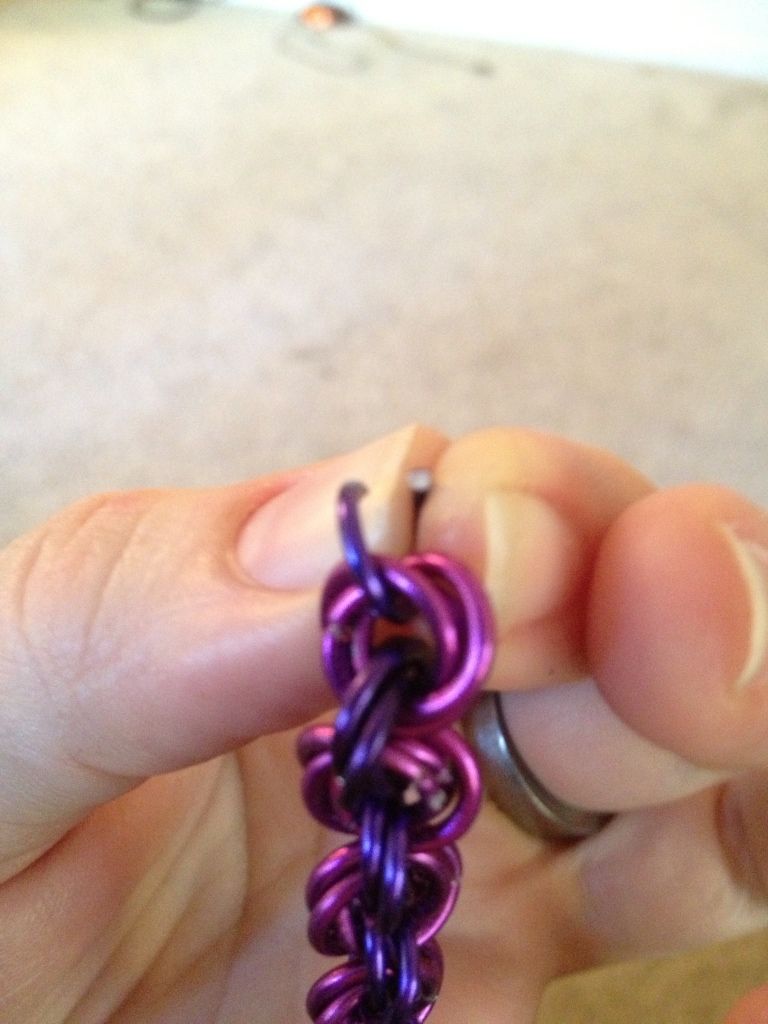
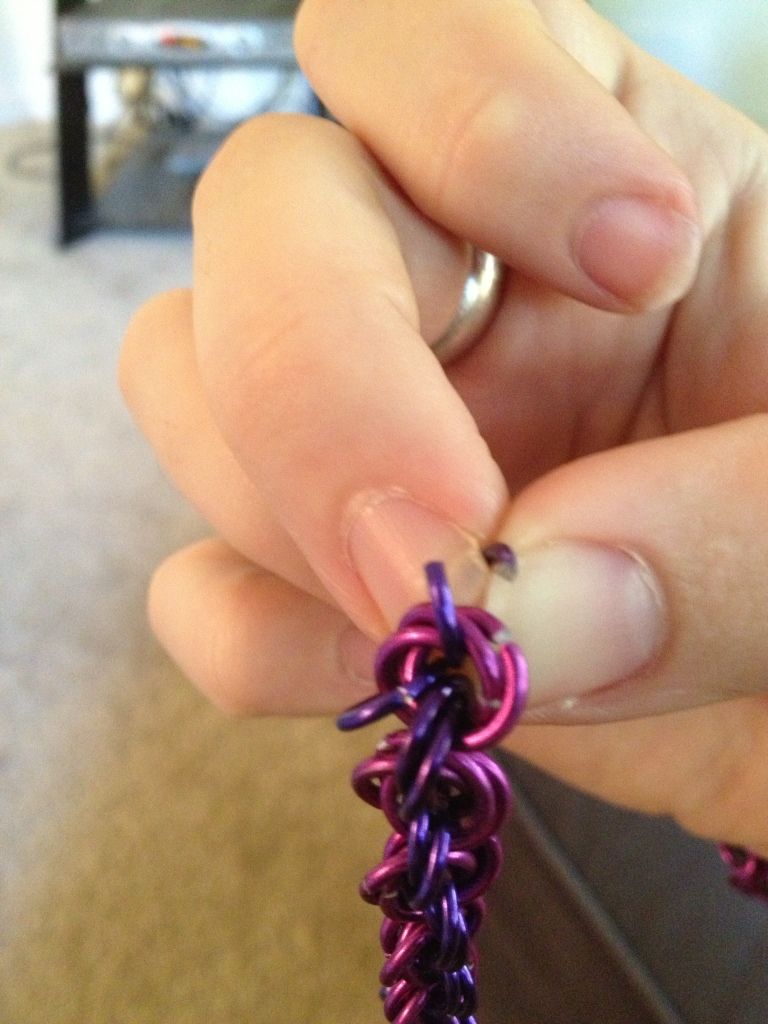 To add onto your vine, you're going to repeat the same process, but you're going to start by looping your first jump ring through the middle of the first rose (or whatever is on the pattern before your rose).
 <---------------
Now take another jump ring and do the same thing, but before you close it, run one side under the jump ring you had just put in. ---------->
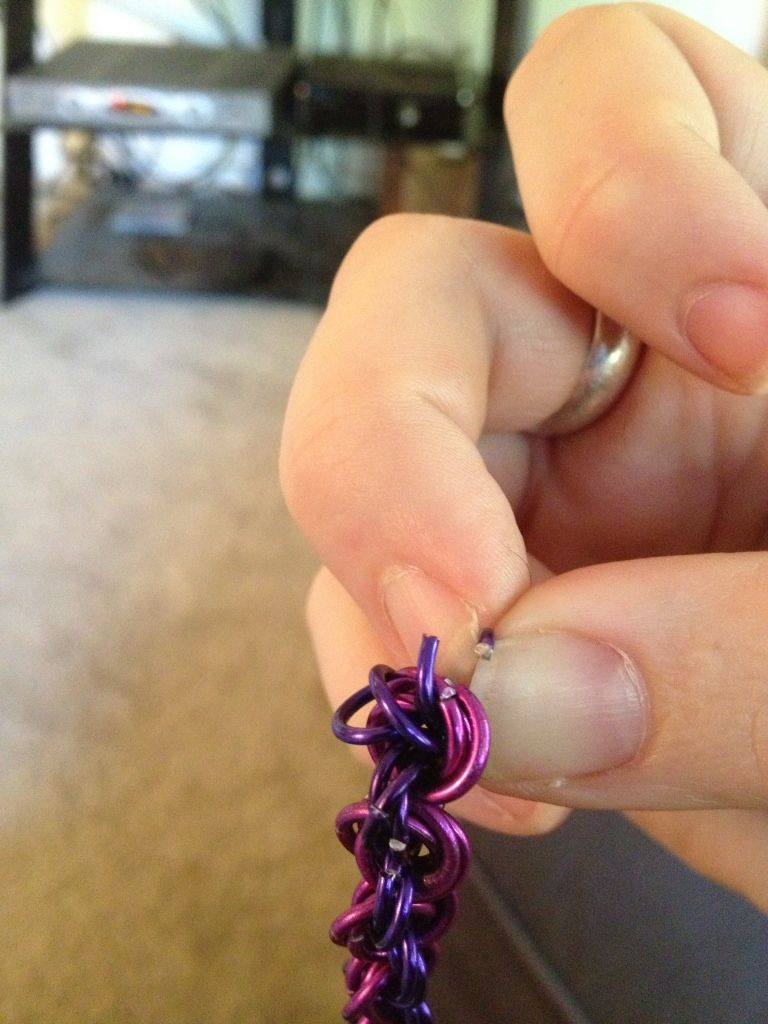 Now do the same thing with the next jump ring, except you run one side under both of the jump rings in this rose at the top. ------------------->
So the second rose is the same as the first one, except you're looping it through the hole of a different rose. You'll continue with this until you make a vine.
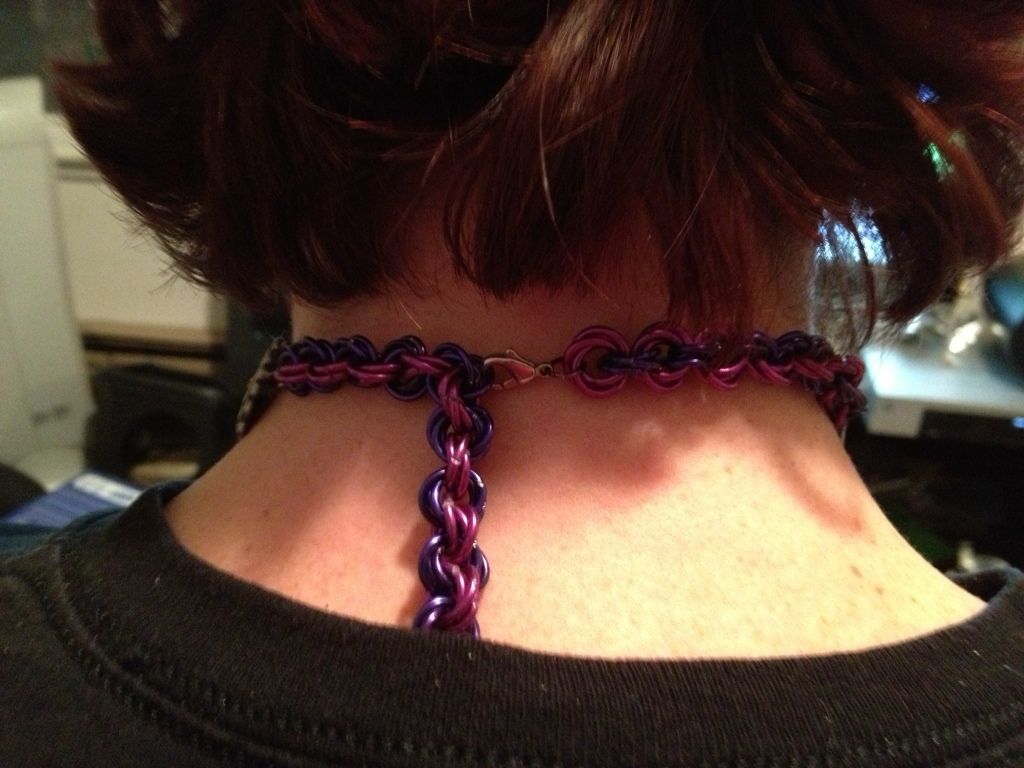
Vines look wonderful as the tails to chokers. But they are very thick. A regular lobster claw clasp like I have picture up top is not a wise idea. I share this with you because I, of course, tried it. The claw will only go through 1-2 of the jump rings in a rose, not all three. This leaves you with scratched up jump rings and a very hard to put on necklace. Instead I made a hook to a hook and eye clasp for this one. If you would like the tutorial on how to make these with 20g wire, please let me know. It will come up soon but I'm already working on the pictures for a different tutorial :)
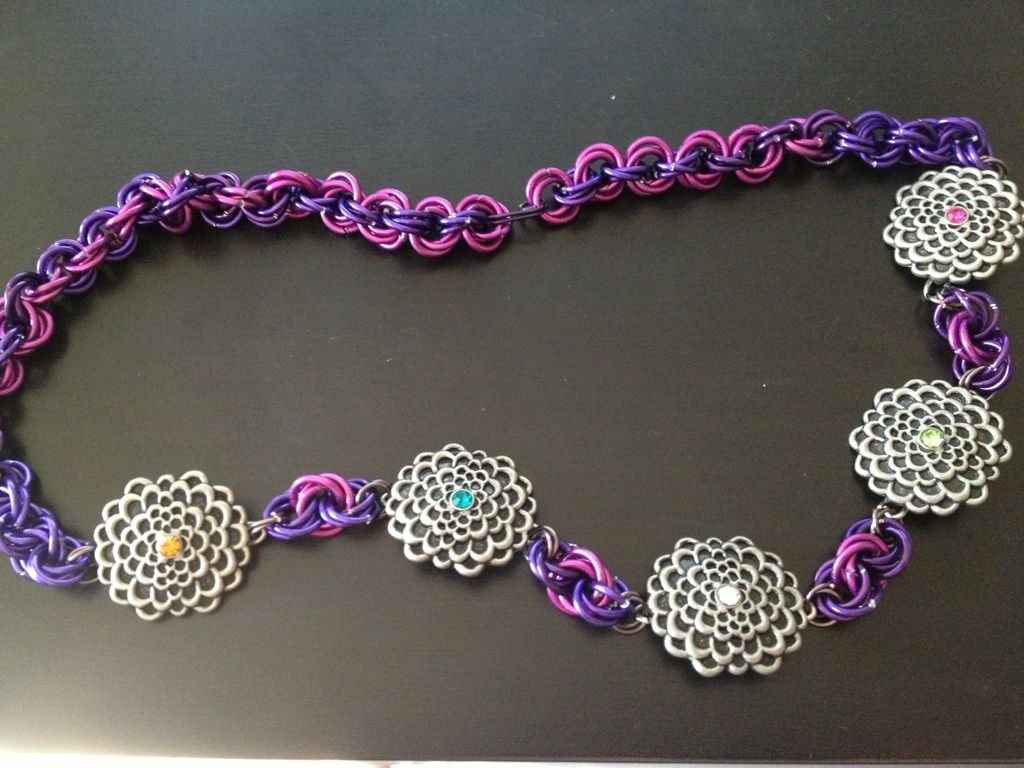
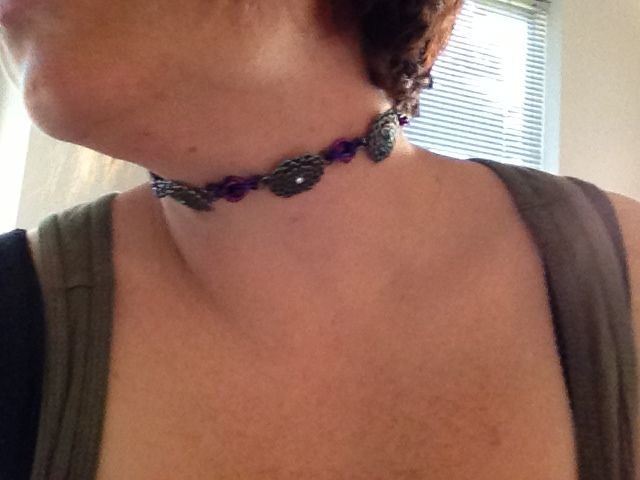 Aaaaand for the finished project-
Available on Etsy, click here :)
No comments:
Post a Comment